Join me on the exciting journey of building my own arcade cabinet! I’ll be sharing my planning process, the questions that come up along the way, and the solutions I discover. Maybe I’ll even inspire some of you to bring the unforgettable experience of an arcade machine into your own home!
🕹️ Foreword
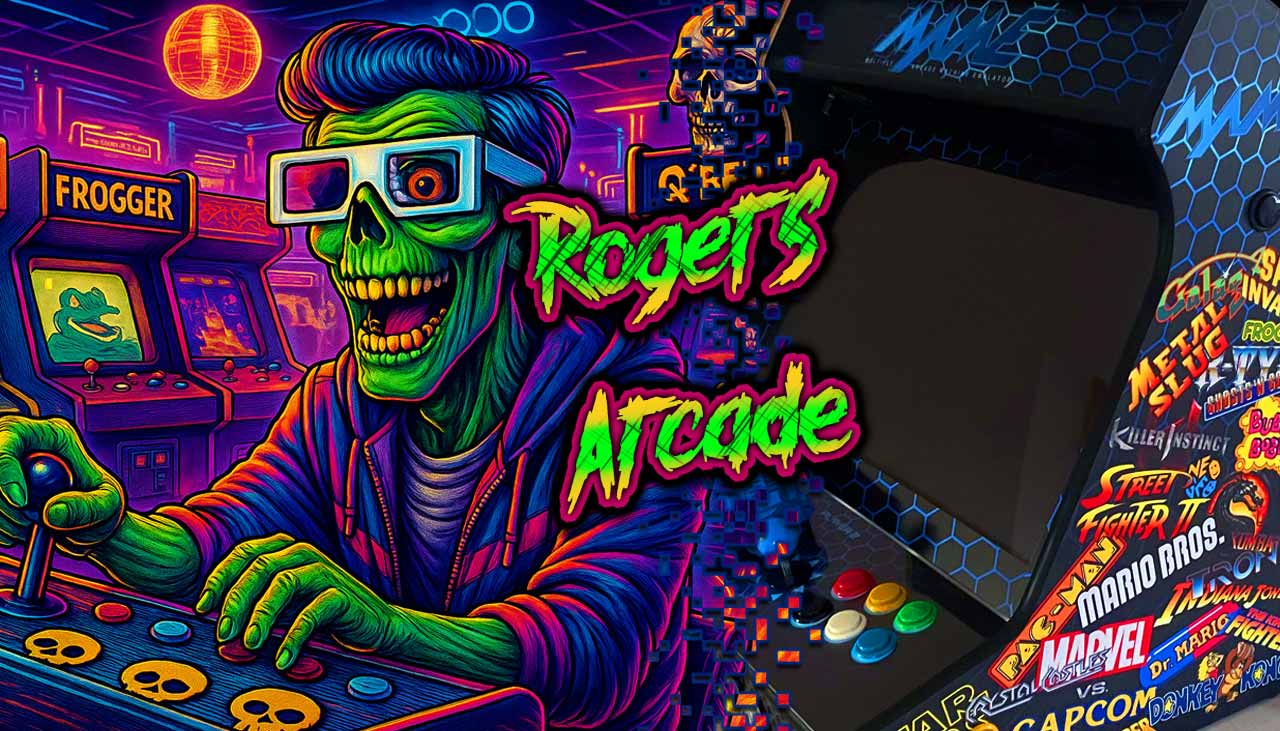
As a child of the 80s and 90s, I’ve always had a deep affinity for everything connected to that era. During my vacations in Spain and Italy, I absorbed the arcade culture almost daily: the look and feel, the clicking of switches and joysticks, the coin slots, the colorful logos, and the unique atmosphere. Ever since then, one thing was clear to me: one day I would own my own arcade machine or pinball table. Now the time has finally come, and the “Project Roger’s Arcade” begins.
👾 Pre-planning
In the beginning, there’s just a rough idea — but how do you actually bring it to life? After some research, the following options emerged:
- Original arcade machine (new)
- Arcade 1Up cabinet
- sed cabinet to refurbish / use as a donor
- Build it yourself
These options are weighed against the following considerations:
- What will the total cost be?
- How much craftsmanship or technical skill is required?
- How high is the flexibility / adaptability for the future?
It quickly became clear to me that a brand-new original cabinet would blow the budget and offer hardly any flexibility. The same applied to the ready-made 1Up cabs, which didn’t provide enough possibilities for expansion or customization. A used cabinet to refurbish or use as a parts donor wasn’t an option either — they were either unavailable or too expensive! So only one solution remained: do it yourself!
However, when it comes to craftsmanship, I’m more of an electrician than a carpenter, so the question arose whether the project would end right there. After extensive research online, I found construction plans for various cabinets. Highly motivated, I contacted a few local carpenters, but the prices for having them built were simply too high. That left me with only one option: a DIY kit. From the very beginning, though, it was clear to me that I only needed the wooden shell; electronics, hardware, and the smaller woodworking tasks would be done by myself! From buttons to joysticks, I’ll choose all the components personally, install them, apply vinyl, paint—everything that goes with it.
🕹️ Technical Specifications & Requirements
Hardware
For the hardware base, I decided to use an older Windows PC instead of a Raspberry Pi. On one hand, the PC was already available in the household at no additional cost; on the other hand, it offers far greater flexibility compared to the Raspberry Pi when it comes to customization, hardware upgrades, and available software. In addition, the system is powerful enough for extensive emulation and even allows access to the Steam library:
- CPU: Intel Core i5 2500K
- Ram: 32GB – DDR3
- HD: 500GB – Crucial MX500
- GPU: Gigabyte G1 – GTX970
- Display: Samsung 24“ B2430L
- OS:
Win10/ Win11
Cabinet
By using the Samsung monitor, the size and dimensions of the cabinet were largely predetermined at 24″. Additional requirements are:
- 2-Player Design
- Joystick only (initially no paddles, trackballs, etc.)
- 6 Action Buttons per Player
- 2 Front Buttons per Player
- Sticks and buttons in “Japanese style” (round ball-top / 30 mm buttons)
- Monitor-„Glass“
- Marquee-„Glass“
- Marquee lighting
- 2 Audio Speakers
Optional components:
- Pinball buttons (sides)
- Service Button
- Coin validator for coin insertion
- Lightgun
