🪛 Cabinet kit (bartop)
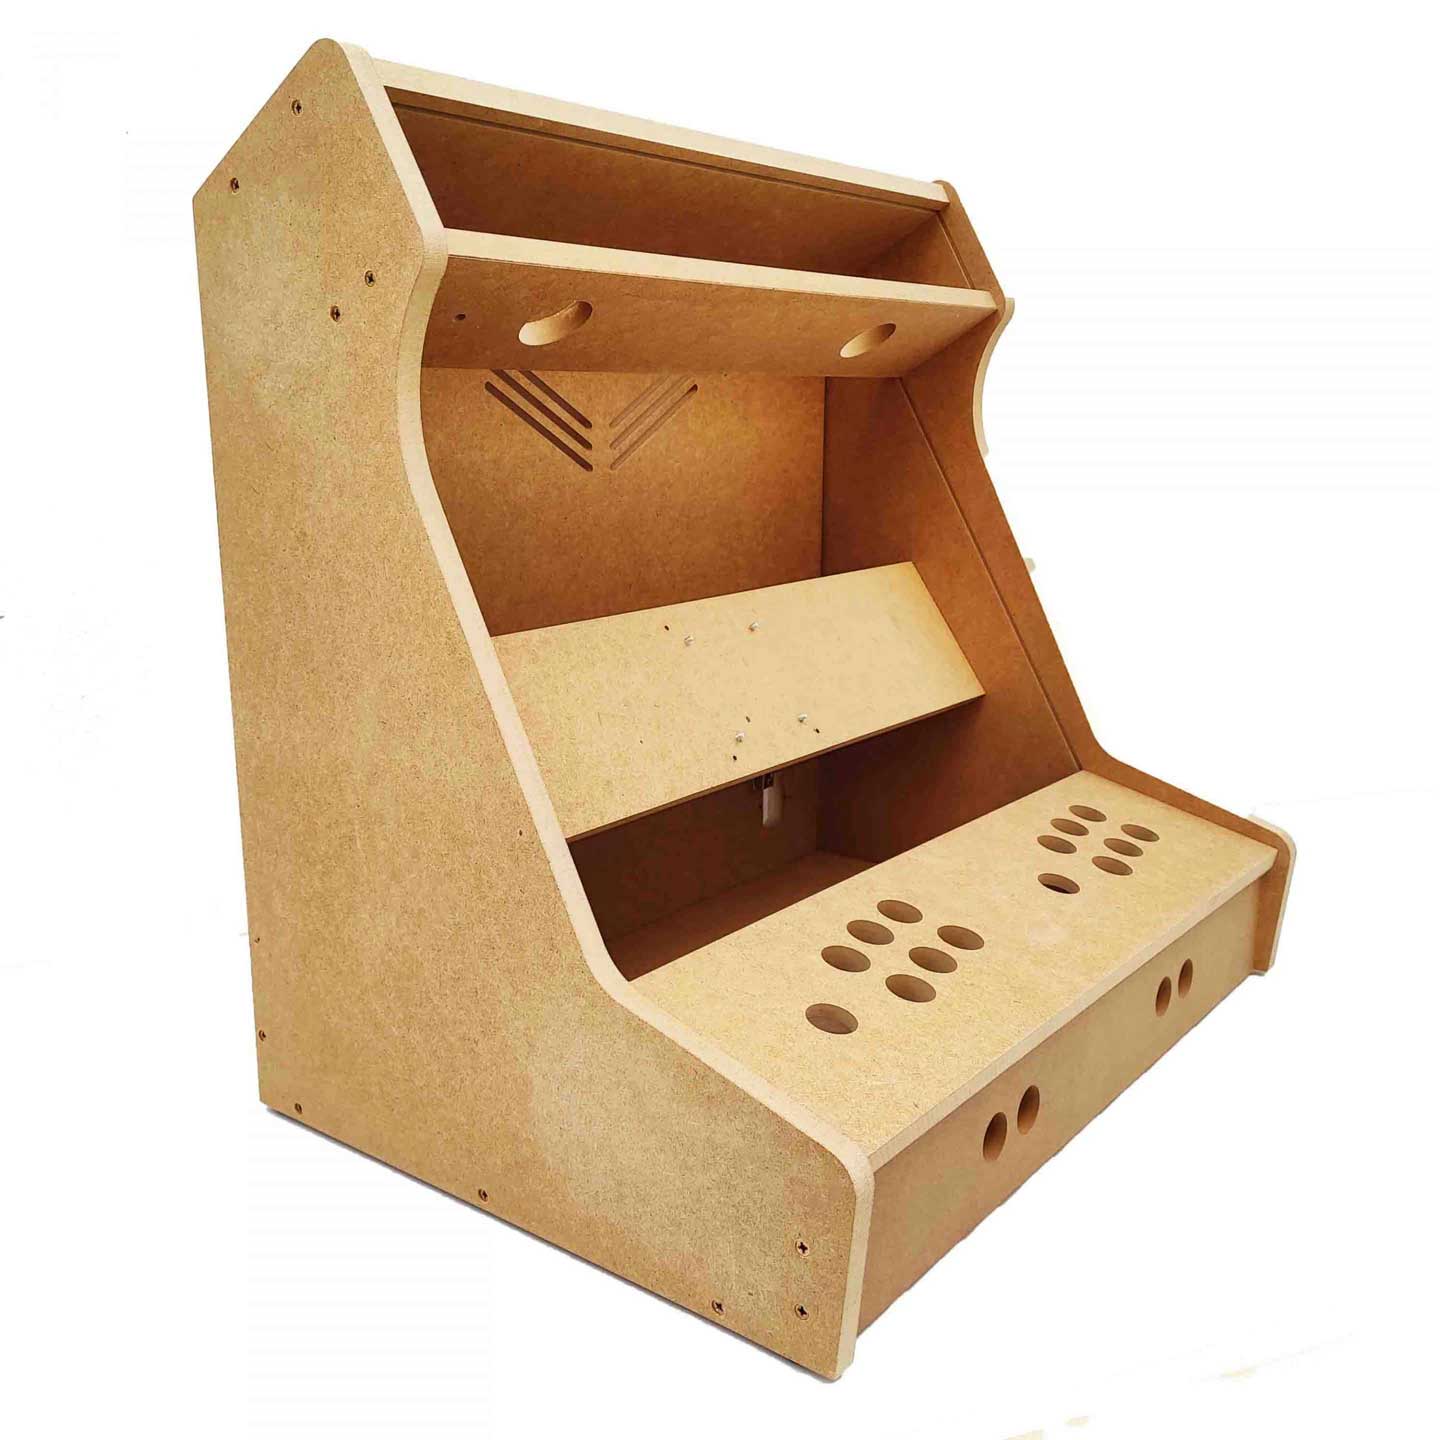
n the end, I decided on a 24-inch bartop kit from Talentec. On their website, I found the most diverse range of kits and accessories. At the time of my order, they were also running attractive discount promotions, and I was able to save on shipping costs from Spain. Payment was easy via PayPal, and the package arrived within a week via UPS.
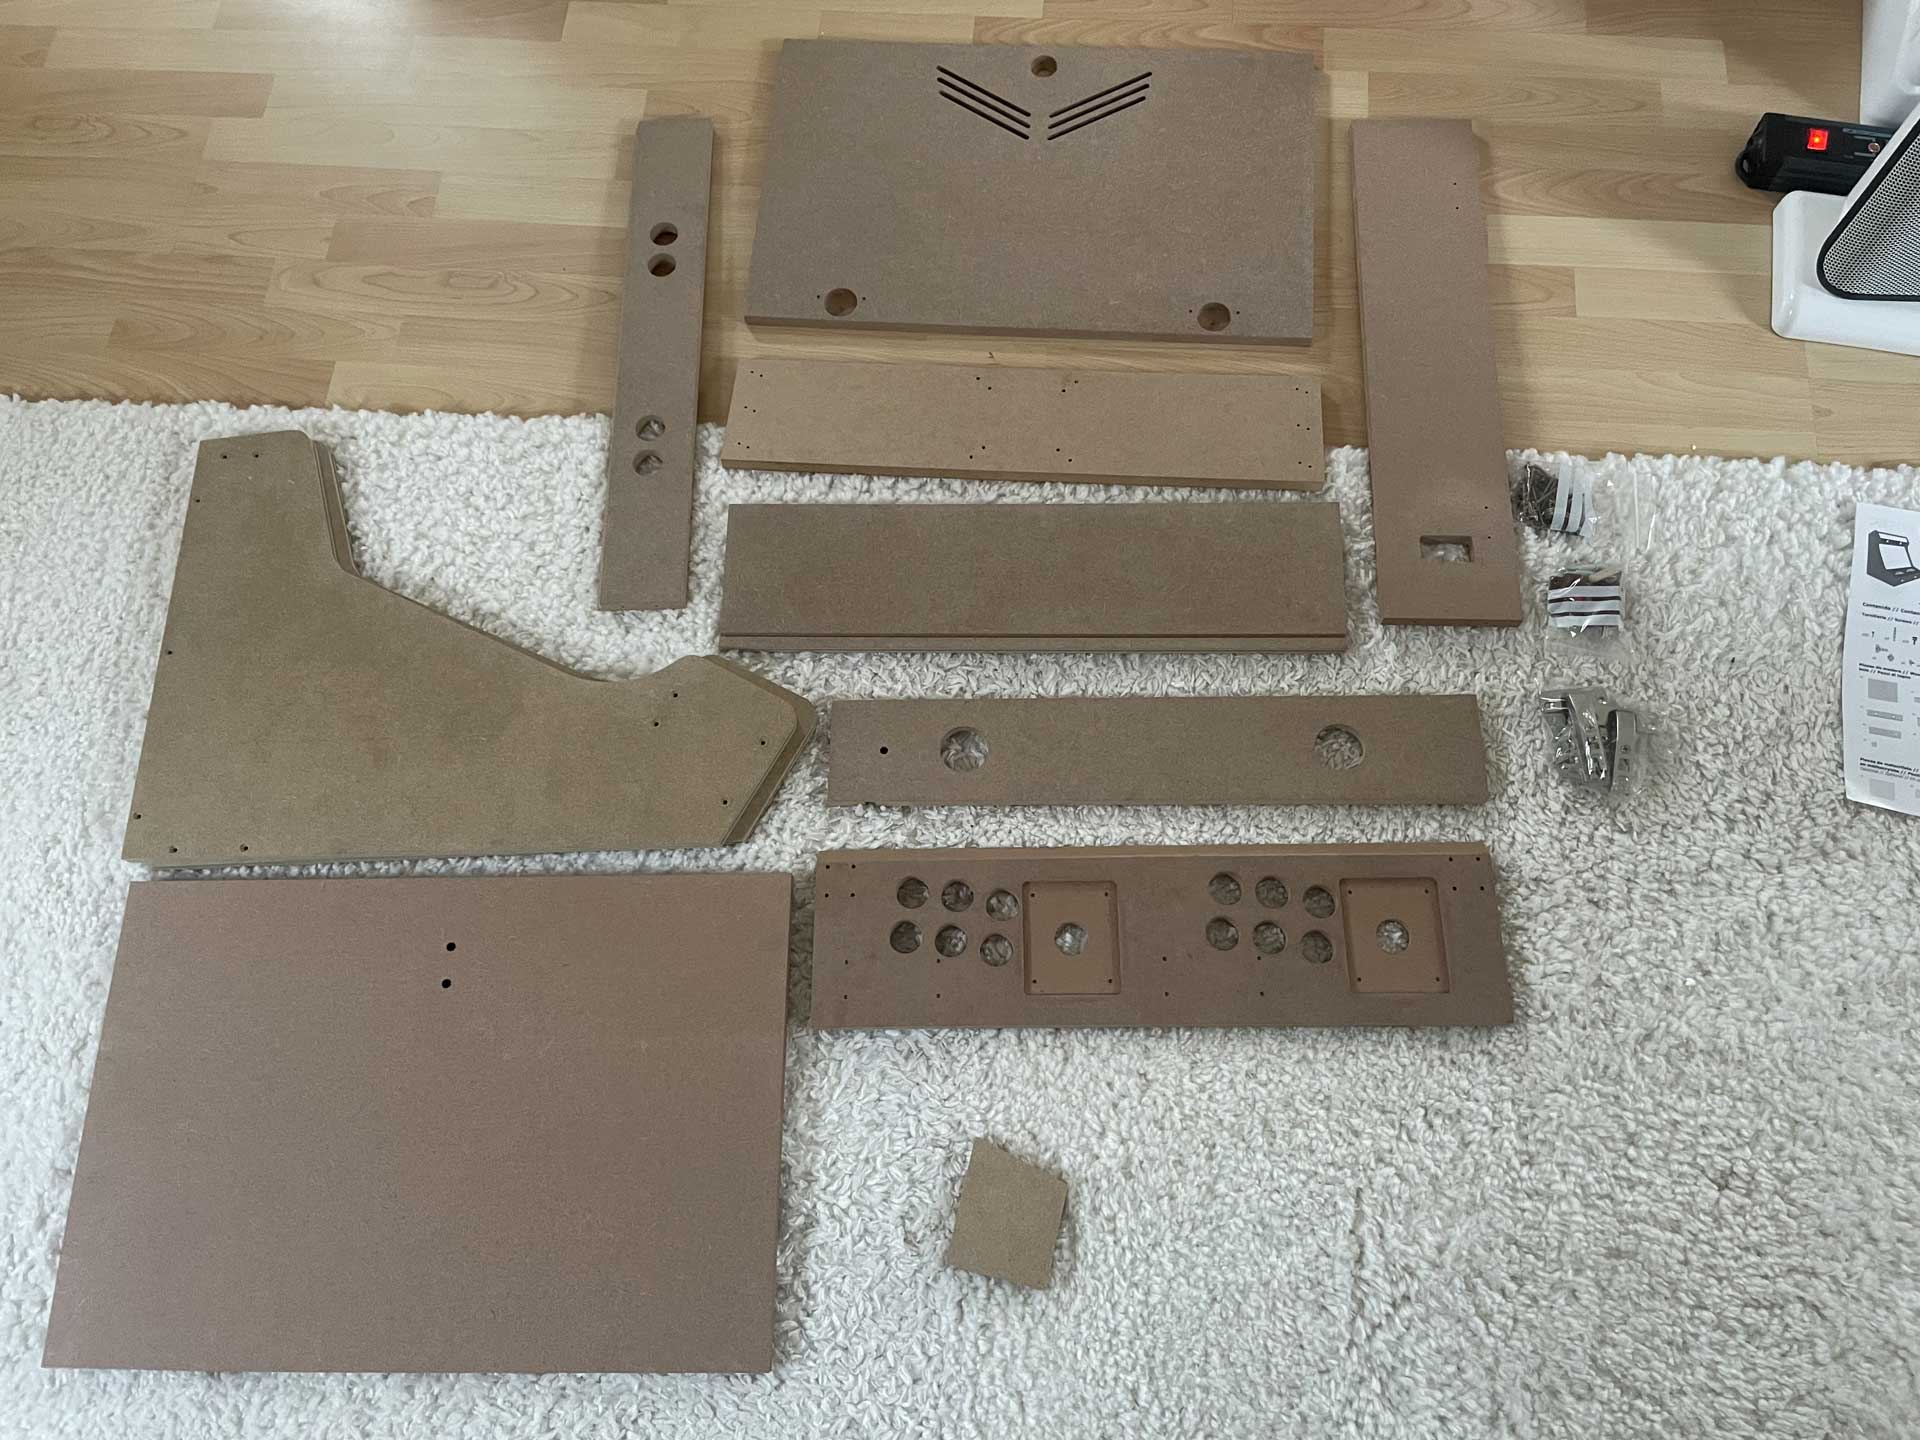
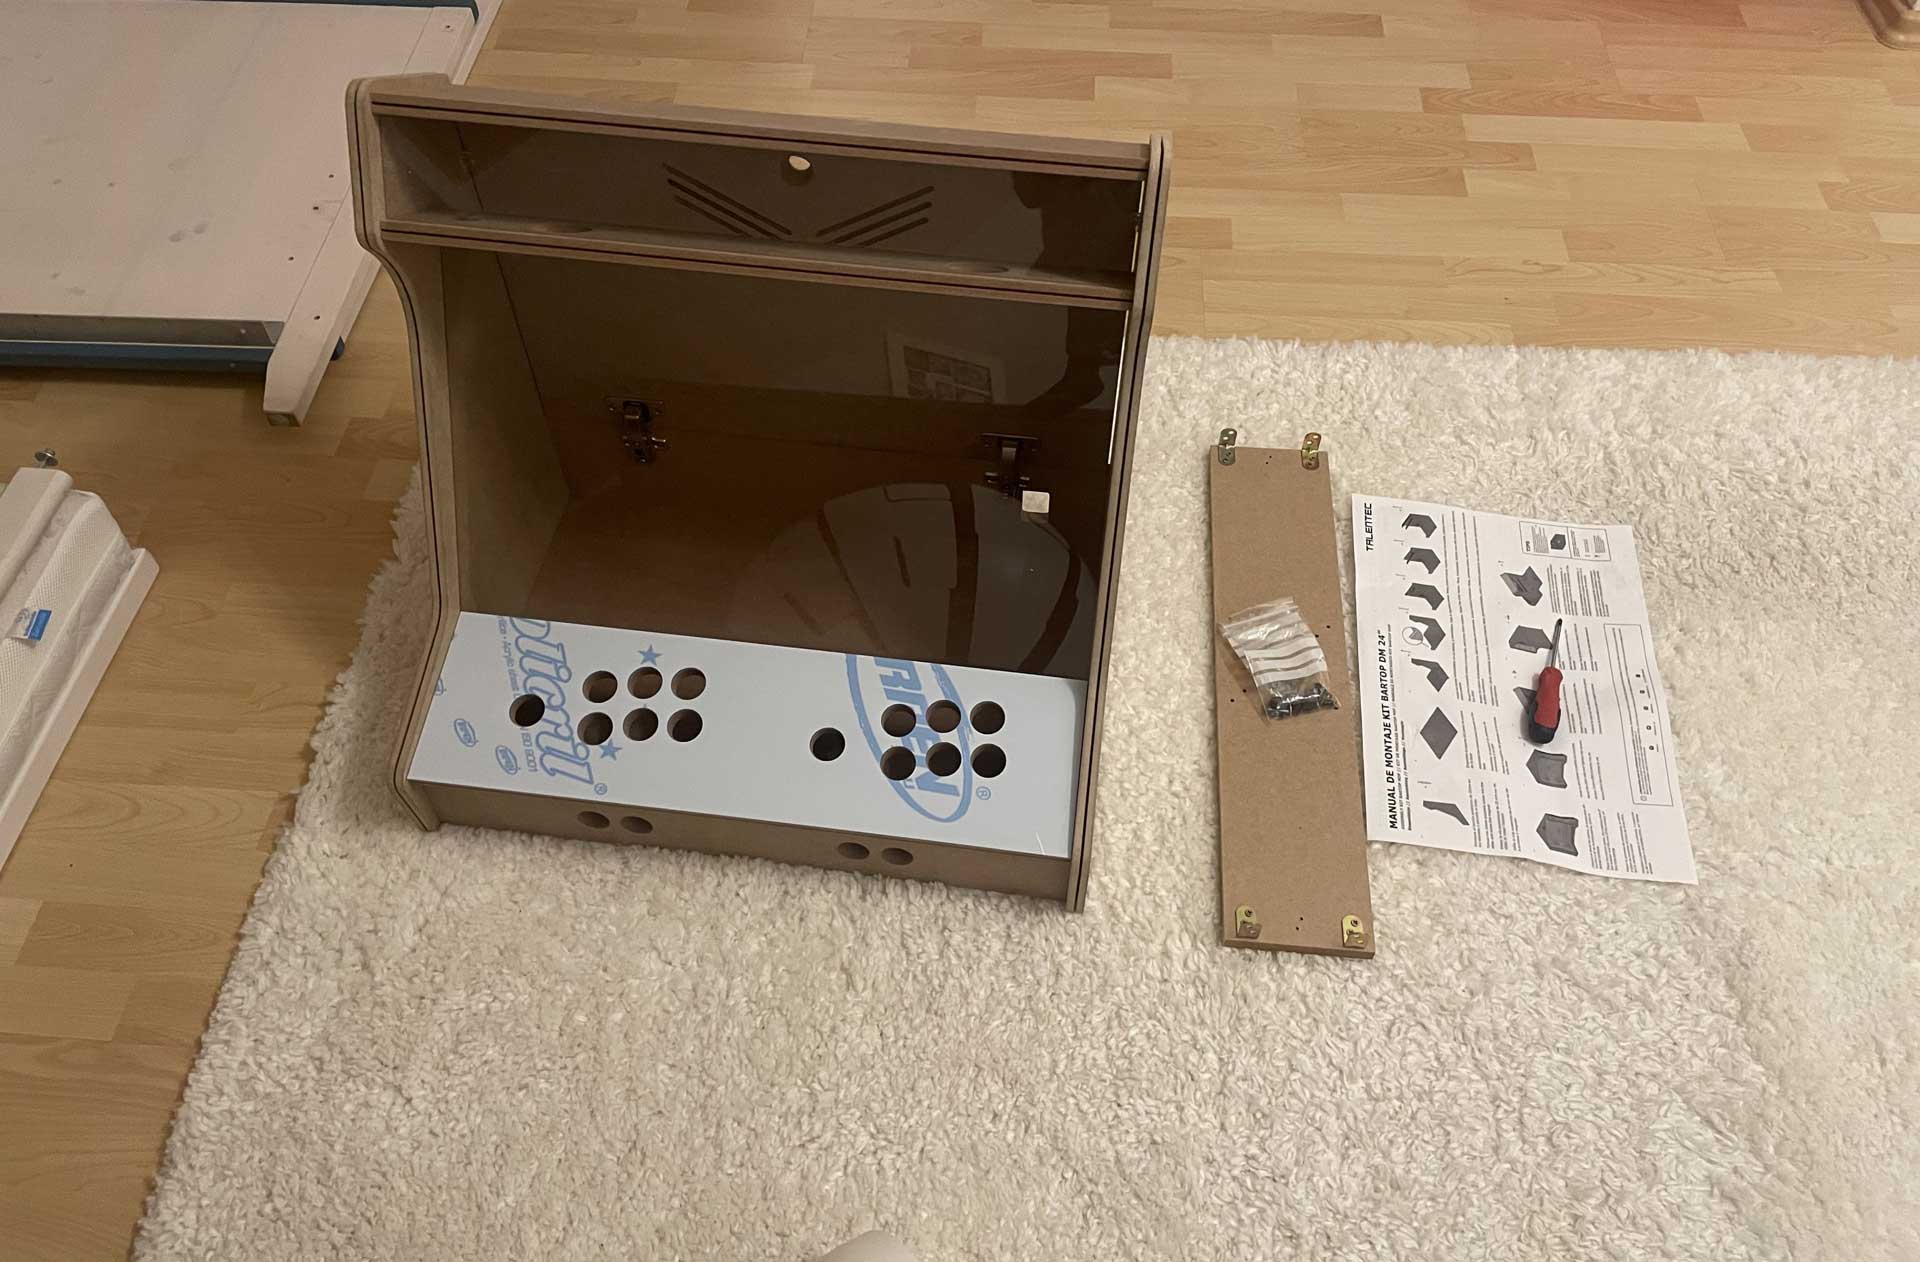
The workmanship of the parts is excellent, and the assembly is explained step by step in a detailed, easy-to-understand manual. All necessary components such as screws, hinges, and brackets are included. I also ordered pre-cut acrylic panels for the control panel cover as well as for the marquee and the screen. Alternatively, I could have had these cut at any hardware store. The assembly was very simple and done quickly, and all you need for it is a screwdriver.

🕹️Panels
Control Panel (v1)
For the intended 2-player design, the following components are required:
Zero Delay USB Board (2x)
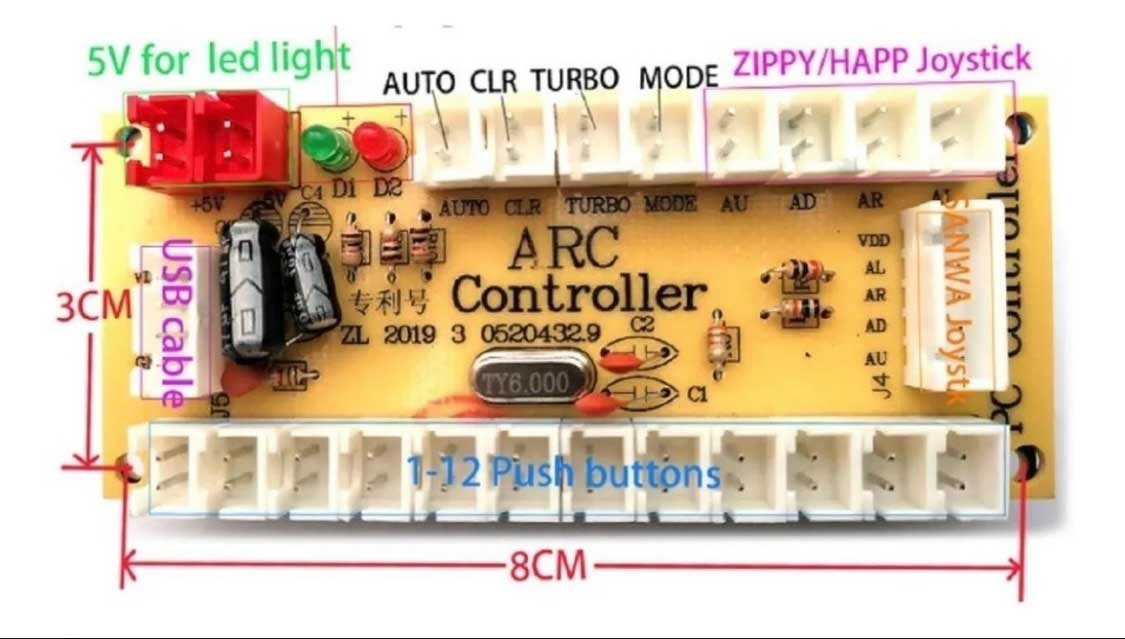
This is probably the most affordable option for the control board. It can be purchased from many shops such as Amazon, eBay, ELV, Reichelt, and various arcade stores. The board supports up to 12 action buttons, connections for Sanwa- or Zippy-type joysticks, and offers a mode selection via buttons (auto-fire / turbo).
Note: Zero Delay boards switch on 5V! By default, most circuits switch from GND. This leads to incompatibilities when integrating additional circuits/boards
4/8-Way Joystick (2x)
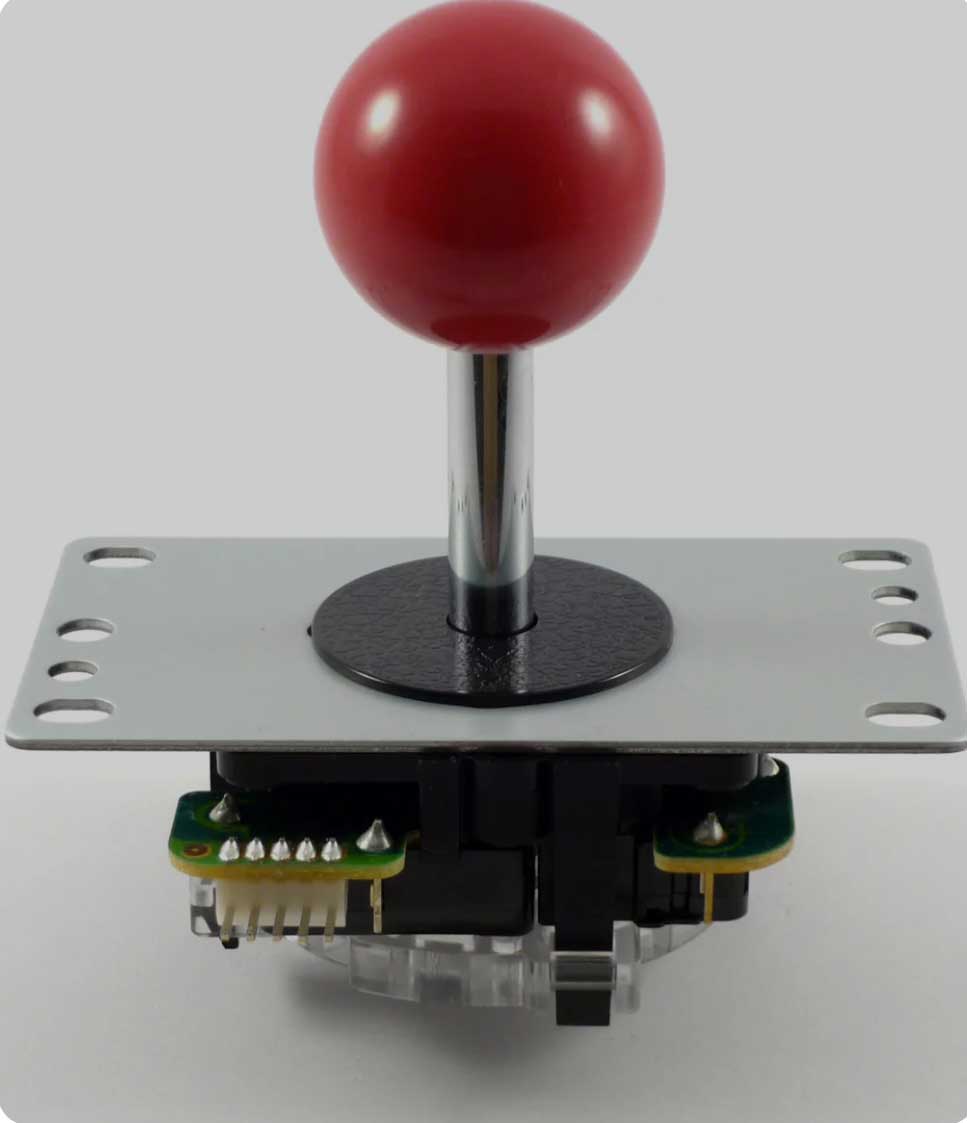
Since the joystick (for nostalgic reasons) should have a short shaft with a round ball-top, I chose the “Japanese-style” Sanwa type (and clones). Equipped with microswitches for input detection, they provide the characteristic “clicking” sound.
Action-Buttons (16x)
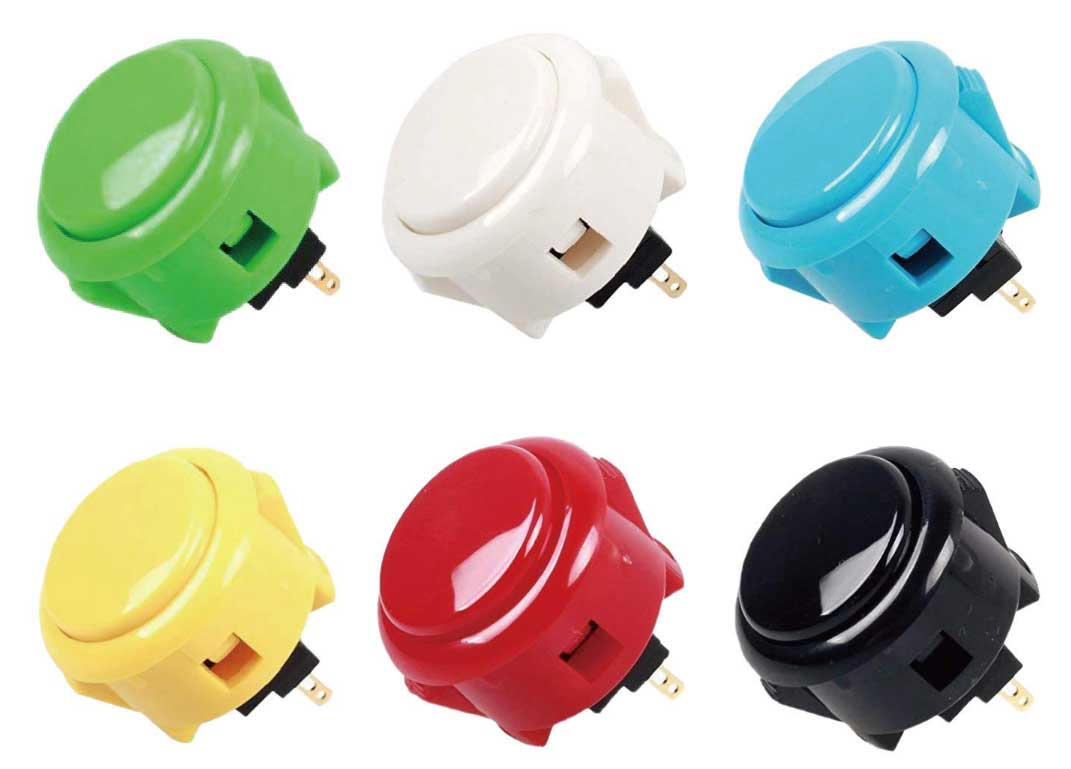
A total of 16 action buttons are required: 6 per player on the control panel and two per player on the front panel. Since I opted for the “Japanese style,” the buttons are the 30 mm type. The buttons were chosen without integrated LEDs, but in various color designs.
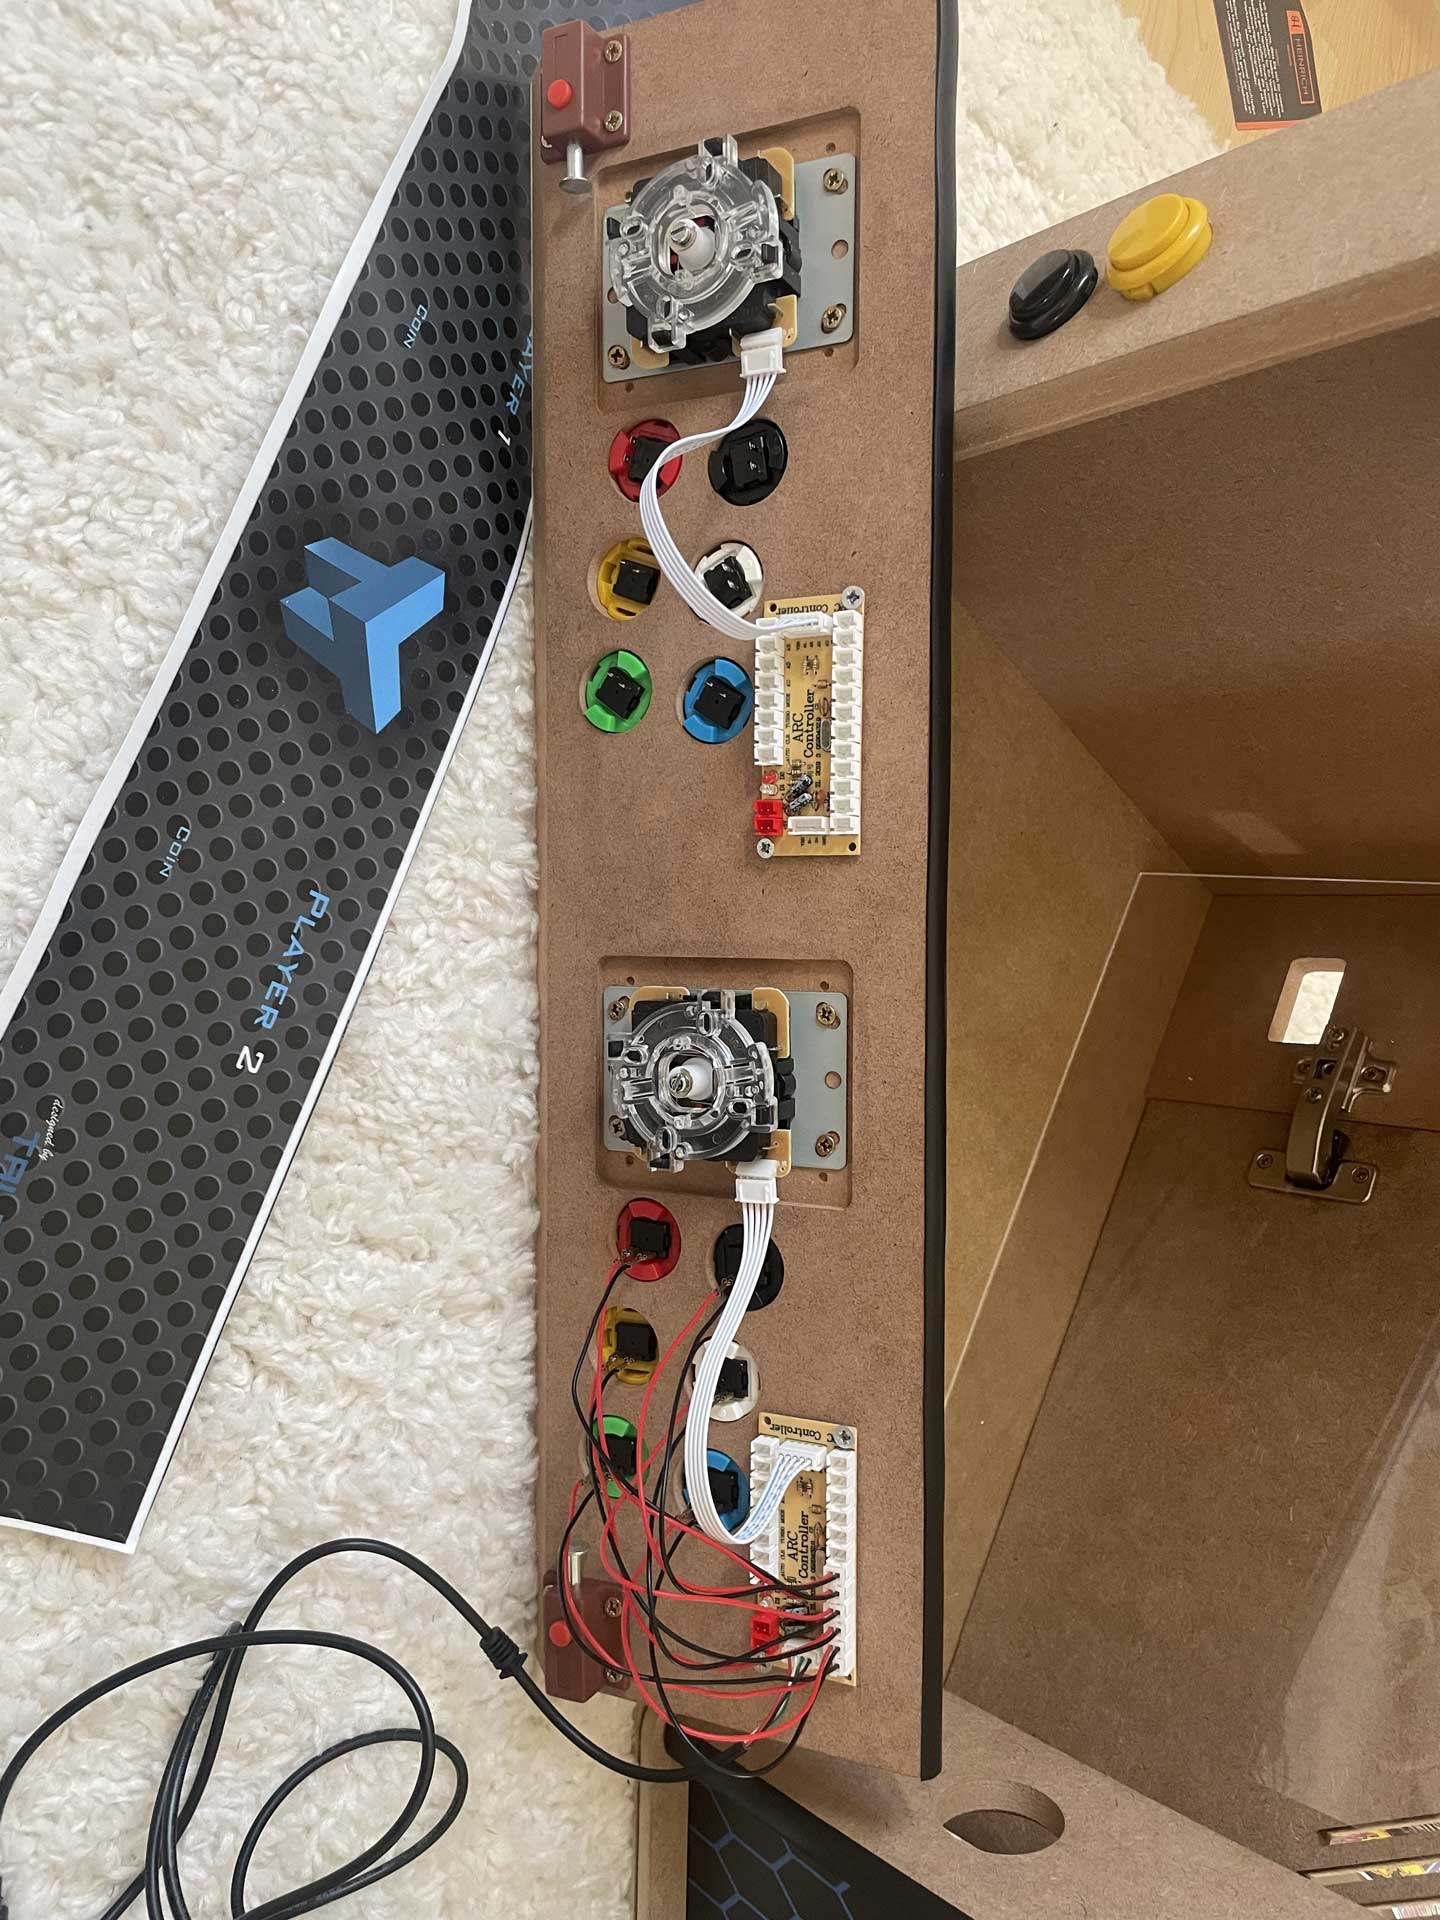
Installing everything in the arcade cabinet was a breeze. The cutouts and drill holes in the housing were perfectly aligned, and wiring was effortless thanks to the cables included with the Zero Delay USB board, which come equipped with HX/HL connectors and flat plug terminals.
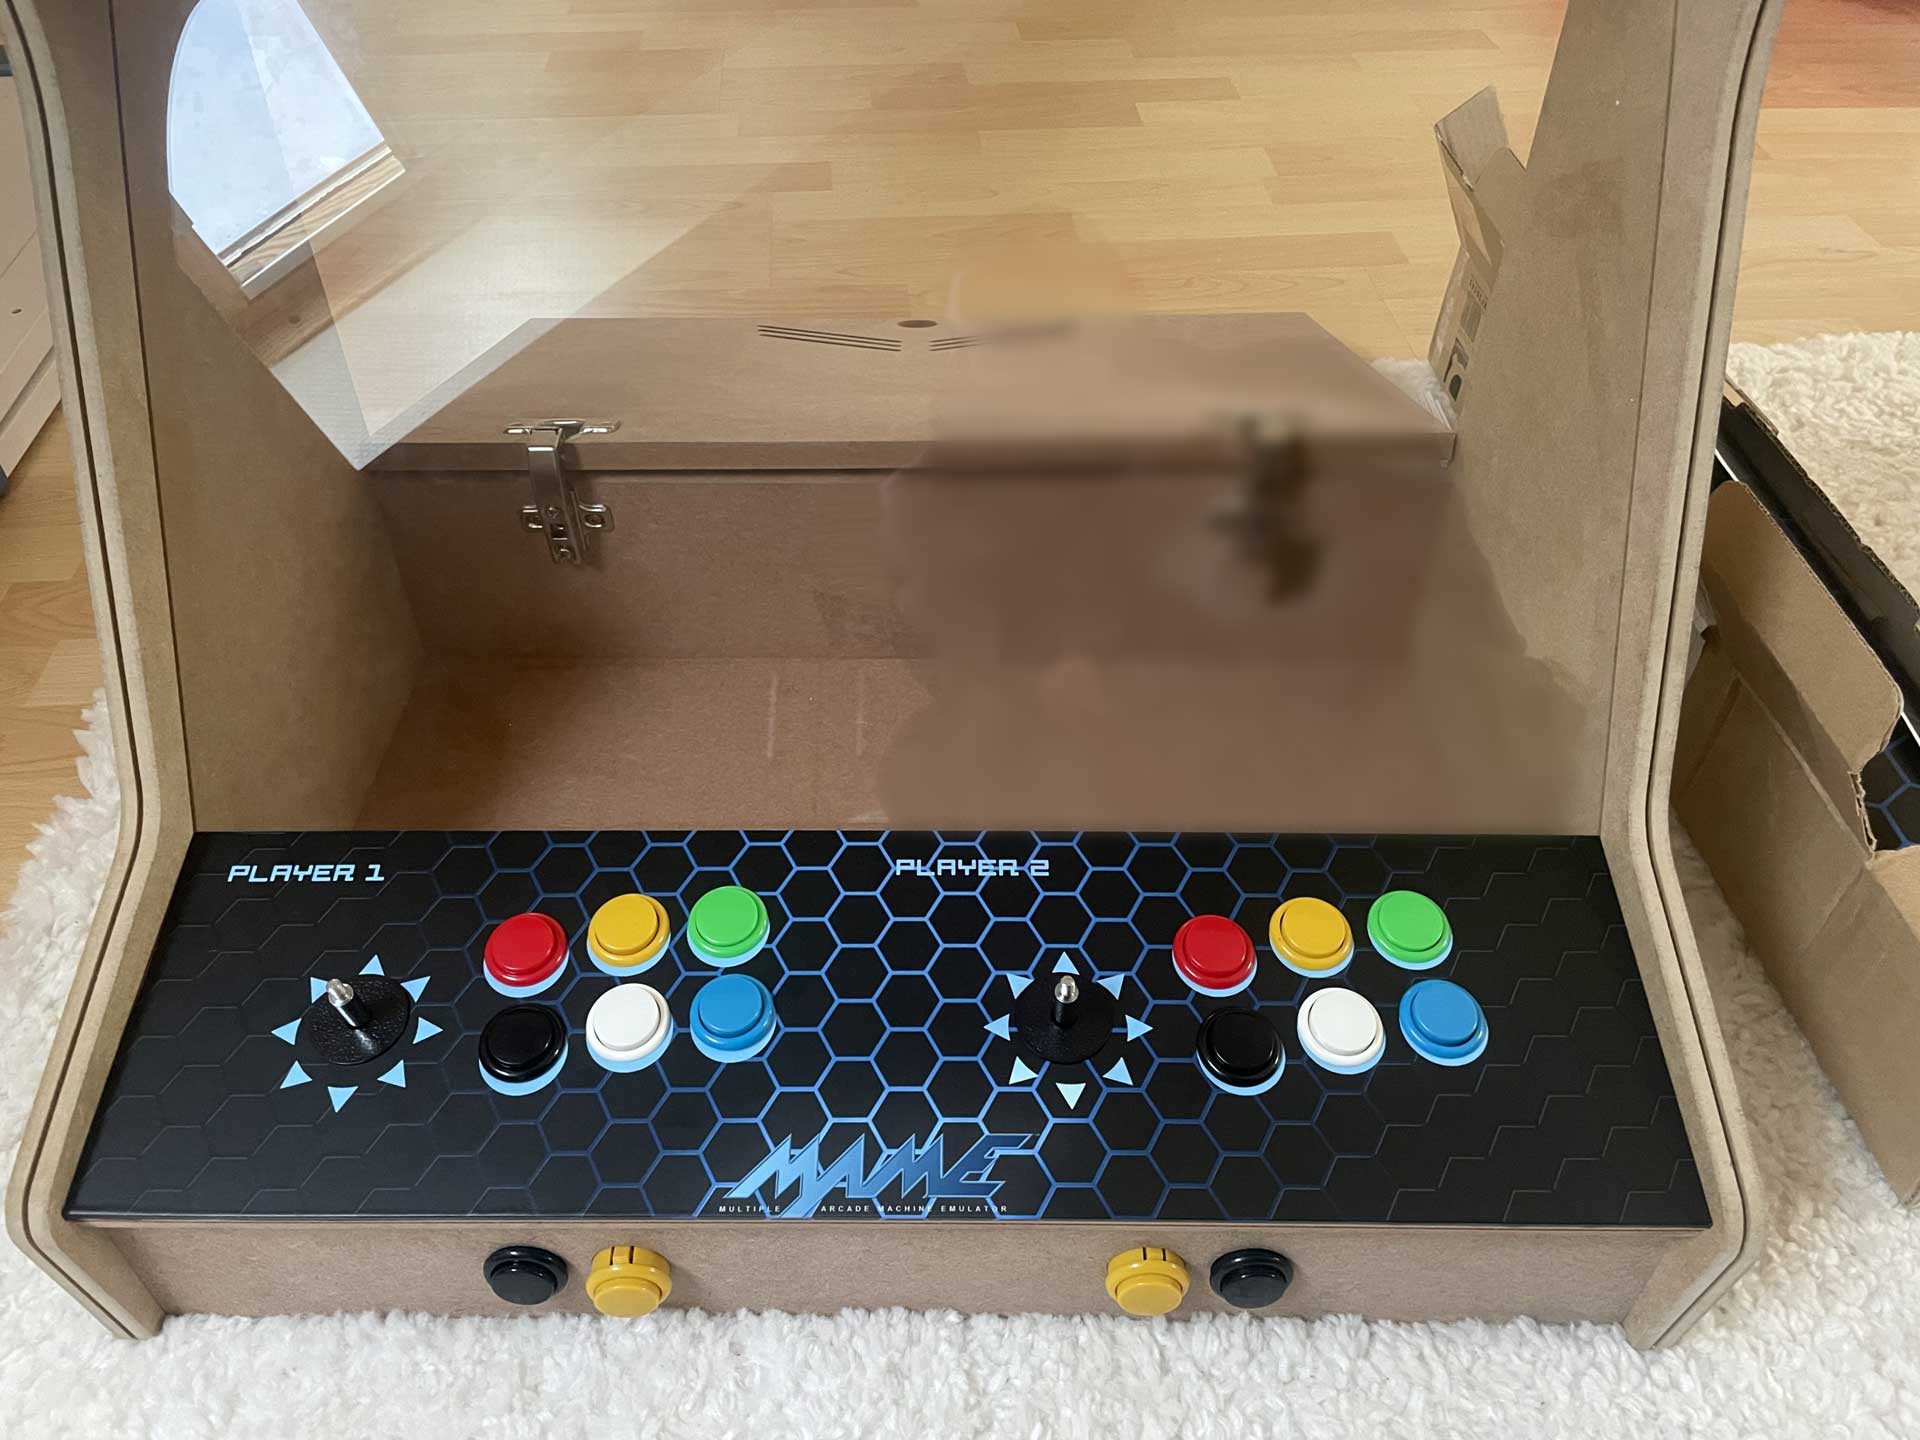
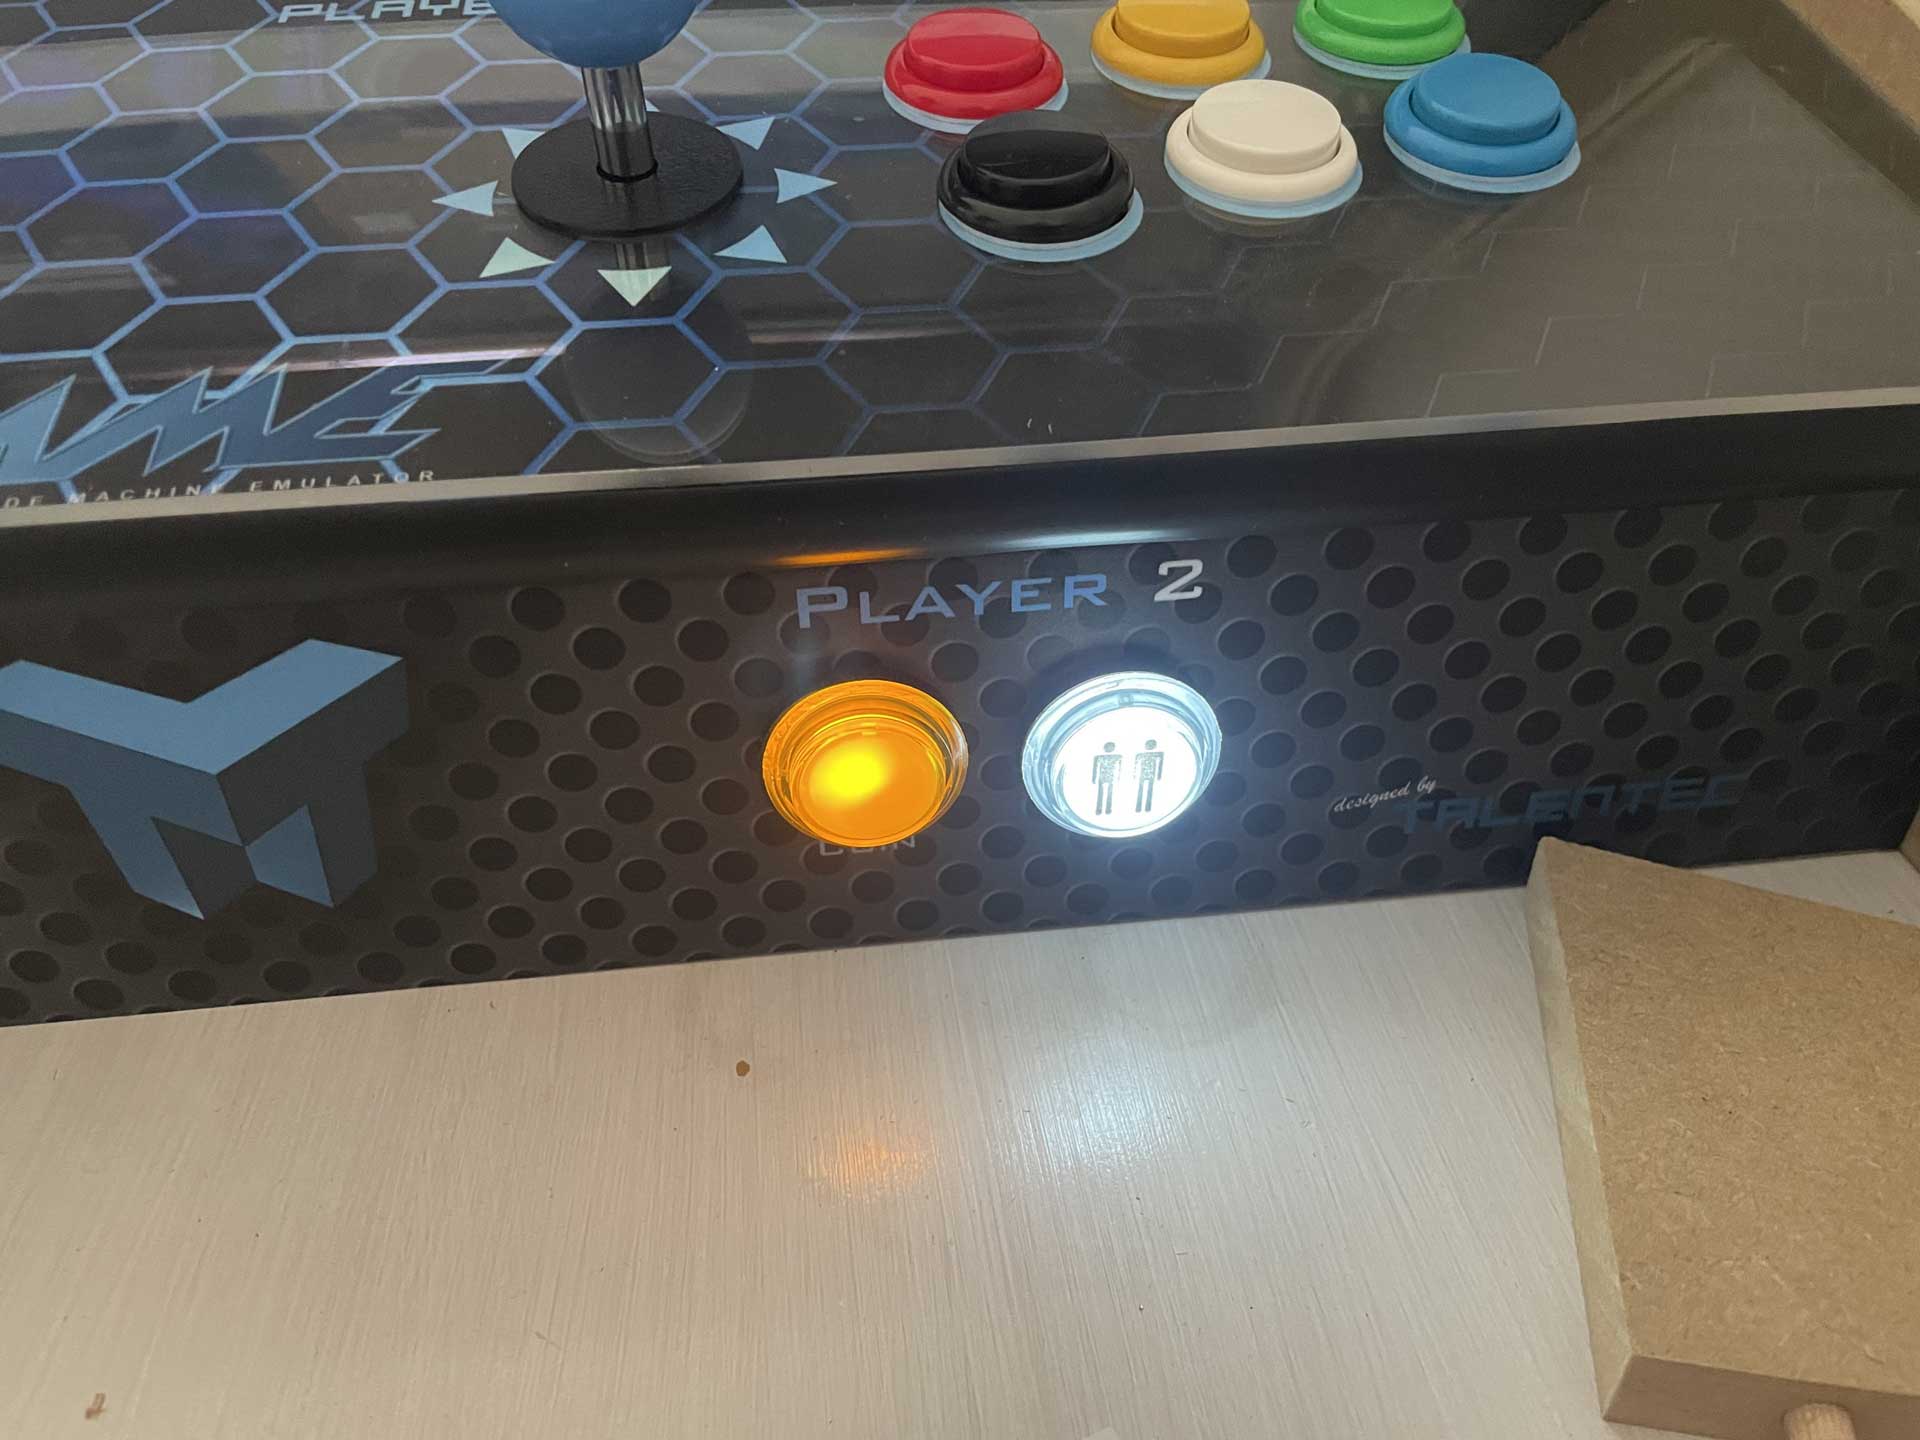
Front-Panel
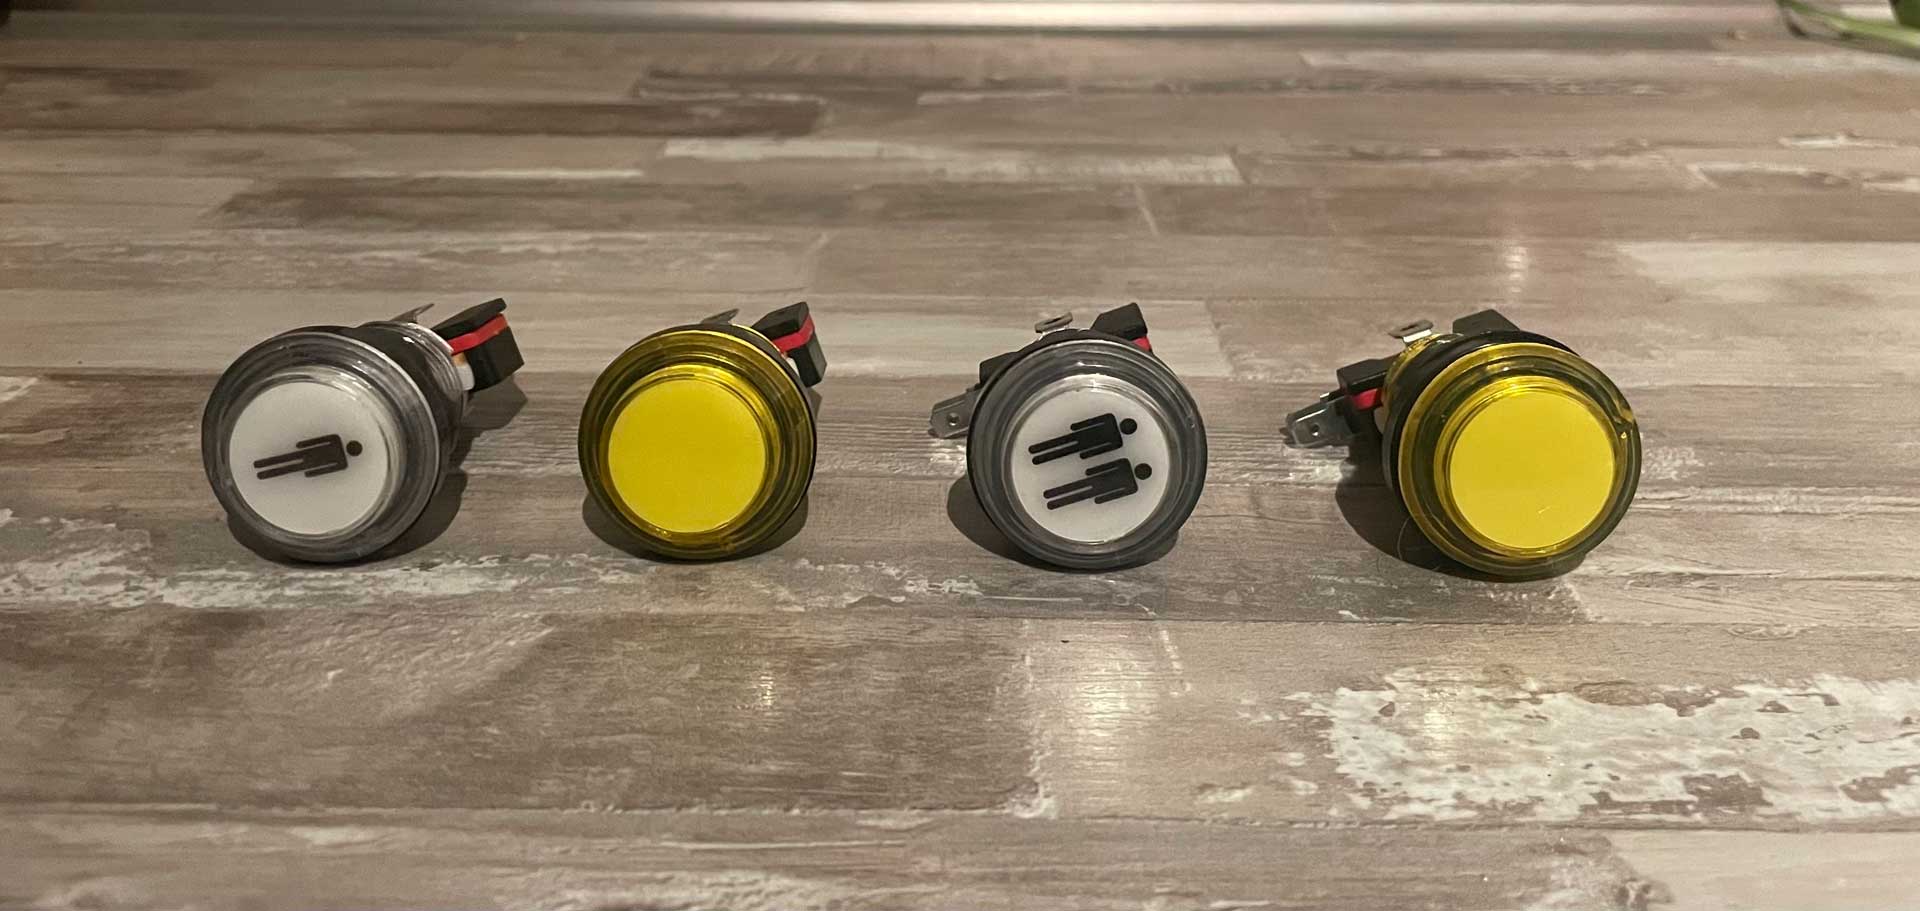
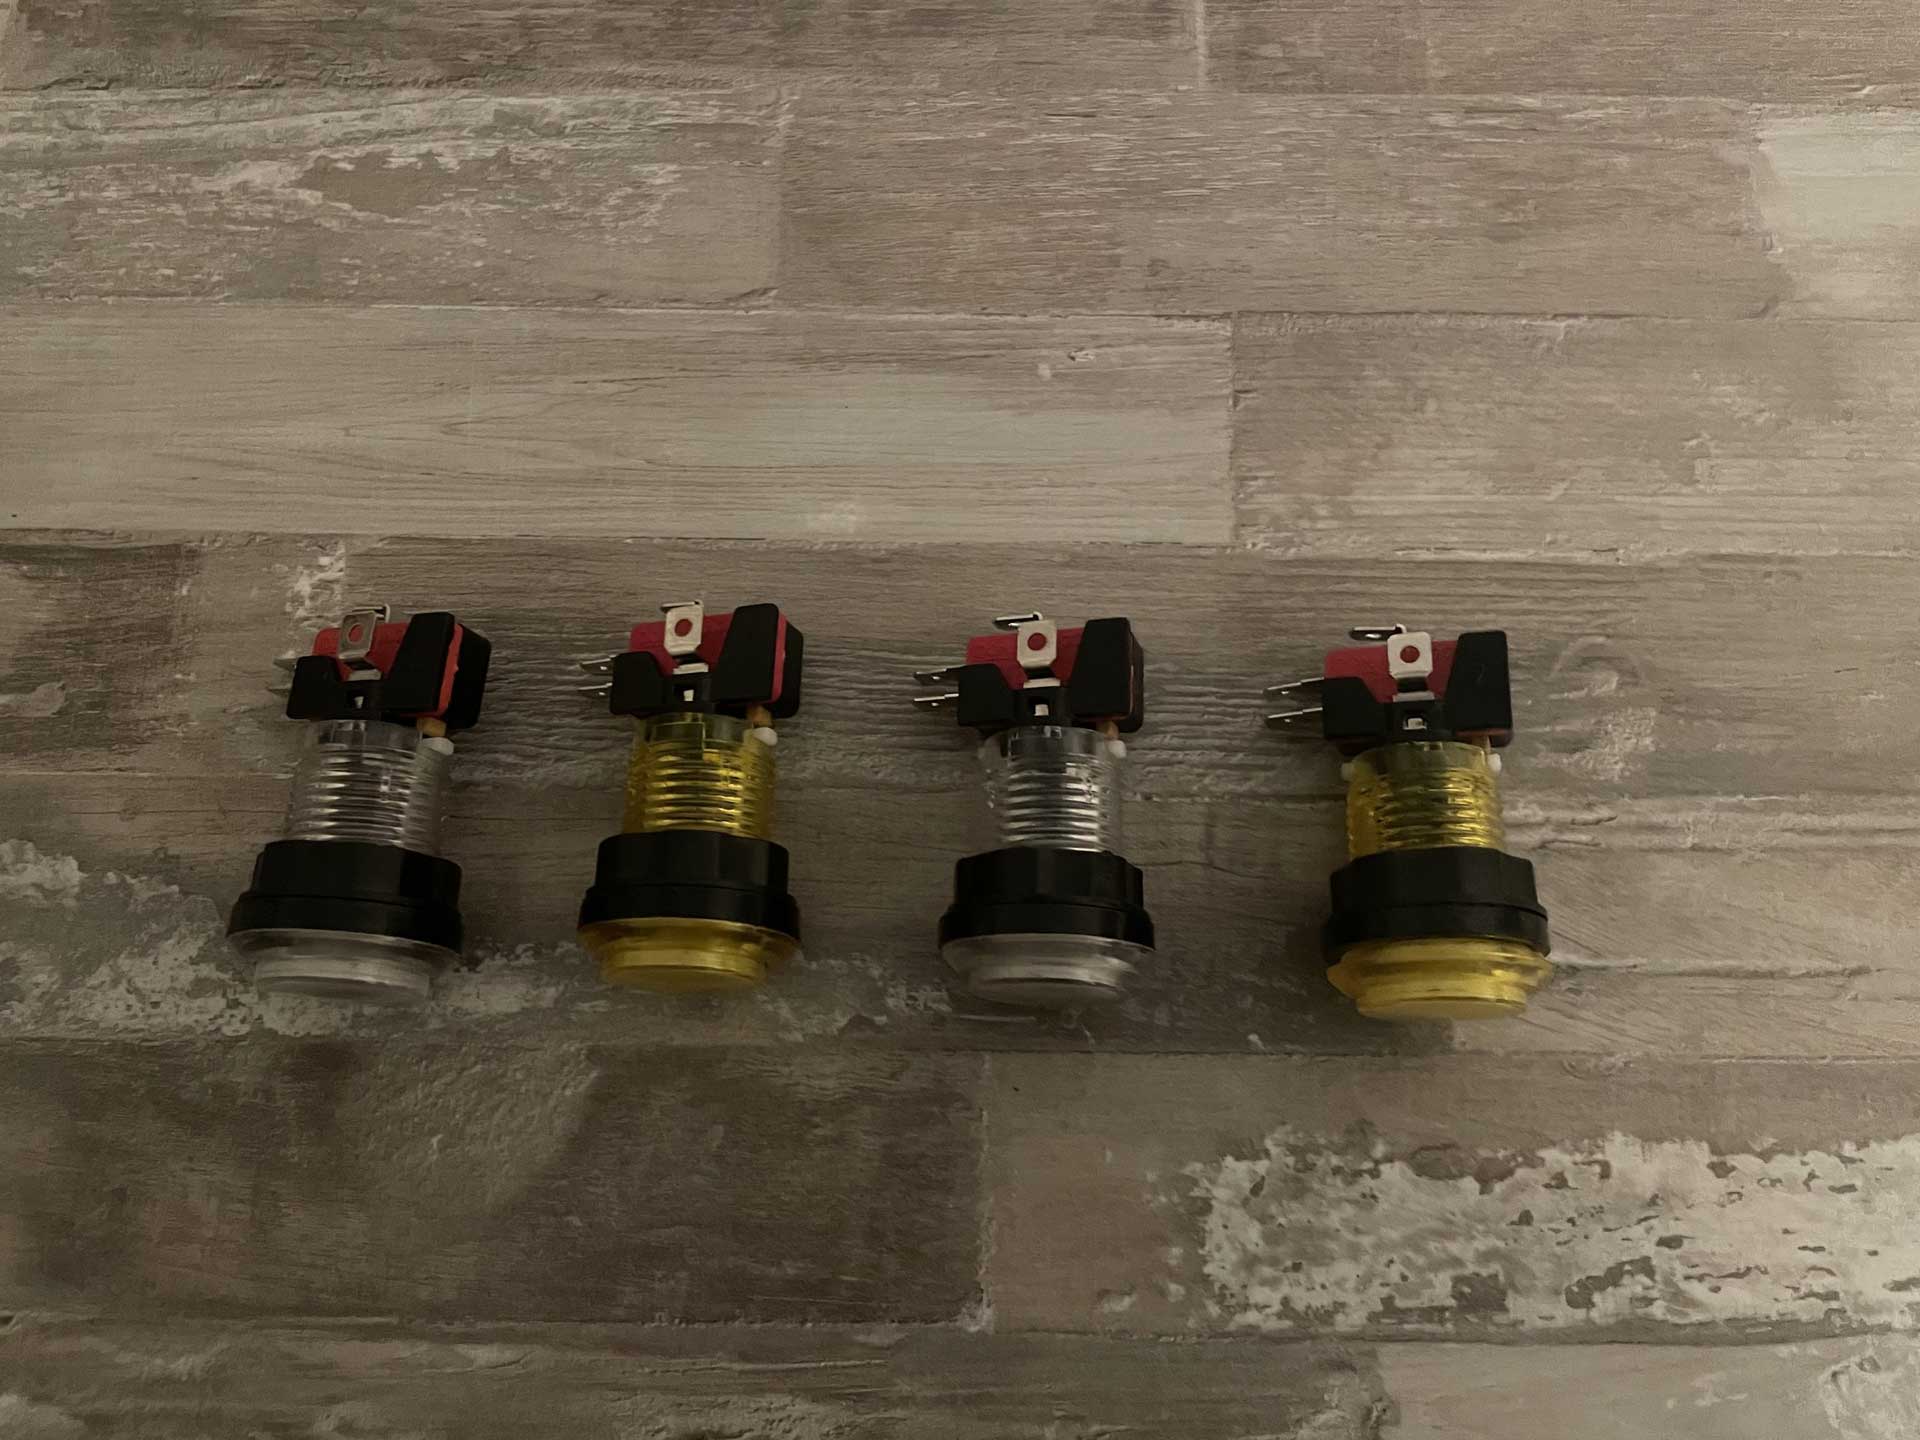
Originally, I planned to use the same buttons on the front panel as on the control panel — as shown in the photo of the finished control panel. However, due to the 5V output of the Zero Delay board, I later decided to use illuminated LED buttons instead. Because of their design, these buttons have a significantly greater installation depth and are mounted from the back with a screw fastener.
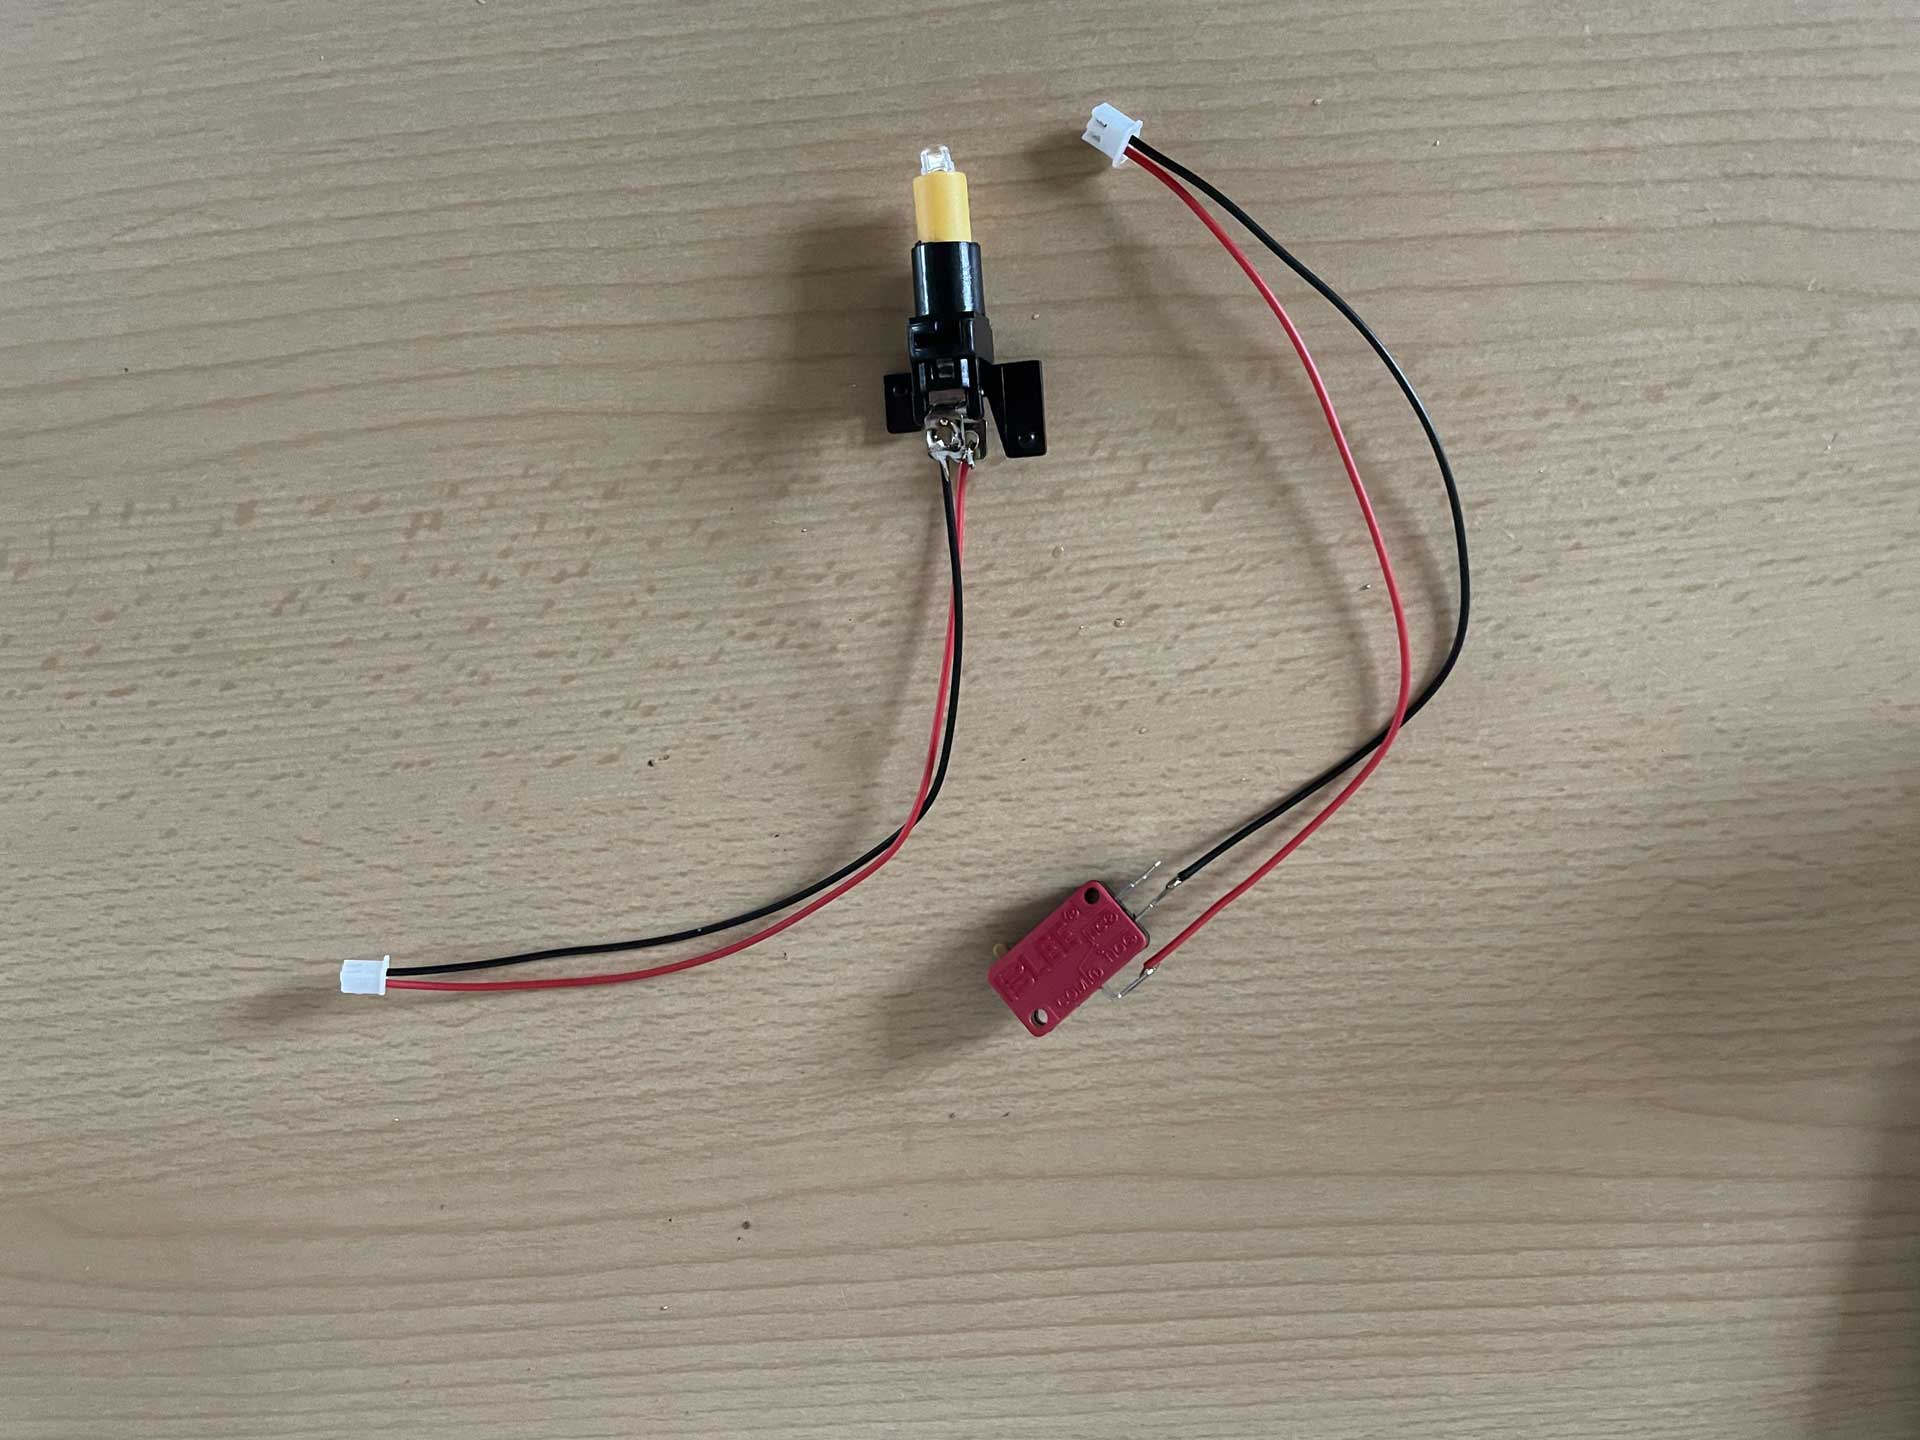
The connection between the microswitch, LED, and button housing is made via an adapter plate, which is attached to the button housing using a bayonet lock. The cables for supplying power to the LEDs and the microswitch had to be soldered, but this is quite manageable even for beginners.

🕹️Sanwa or not
Sanwa or not Sanwa — that is the question. Or: If you buy cheap, do you end up buying twice?
Many arcade fans swear by original components like Sanwa or Zippy, especially in the competitive fighting scene, where fight sticks are often individually tuned. But the question is: Does it really make a big difference, especially if you’re playing just for fun and not professionally?
In the arcades, I rarely played on brand-new machines. Most cabinets were rather “worn out,” and the sticks often felt mushy and imprecise. For this reason, I initially decided to go with inexpensive sticks — they usually cost around 9–10 euros and made a solid first impression, as you can see in the photos of the control panel.
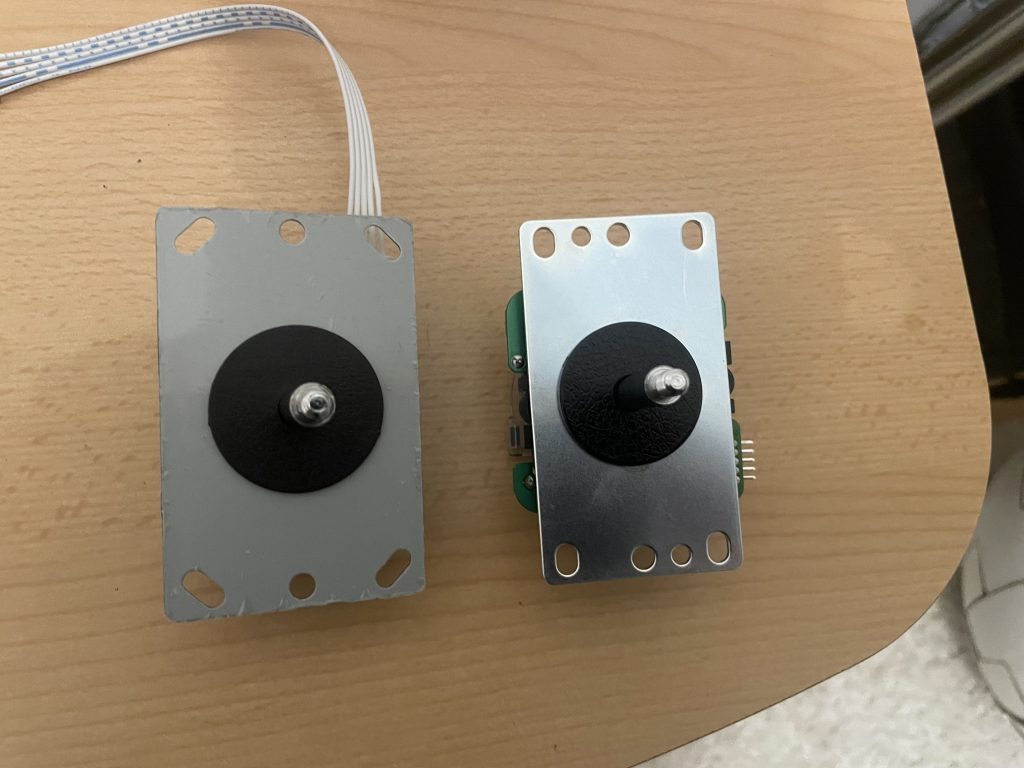
However, during testing — and especially when my children played — I noticed that the precision in 8-way mode left something to be desired. Diagonal inputs were difficult to register accurately, and the feedback wasn’t ideal. So in the end, I decided to switch to original Sanwa sticks, specifically the JLF-TP-8YT.
JLF-TP-8YT
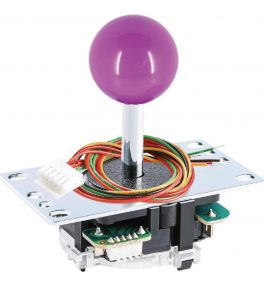
This joystick from Sanwa is the best-selling model in Japan. It’s a high-quality joystick that can easily be switched between 4-way and 8-way modes using the included restrictor plate. It features a solid spring, excellent return-to-center characteristics, and delivers agile, precise control.
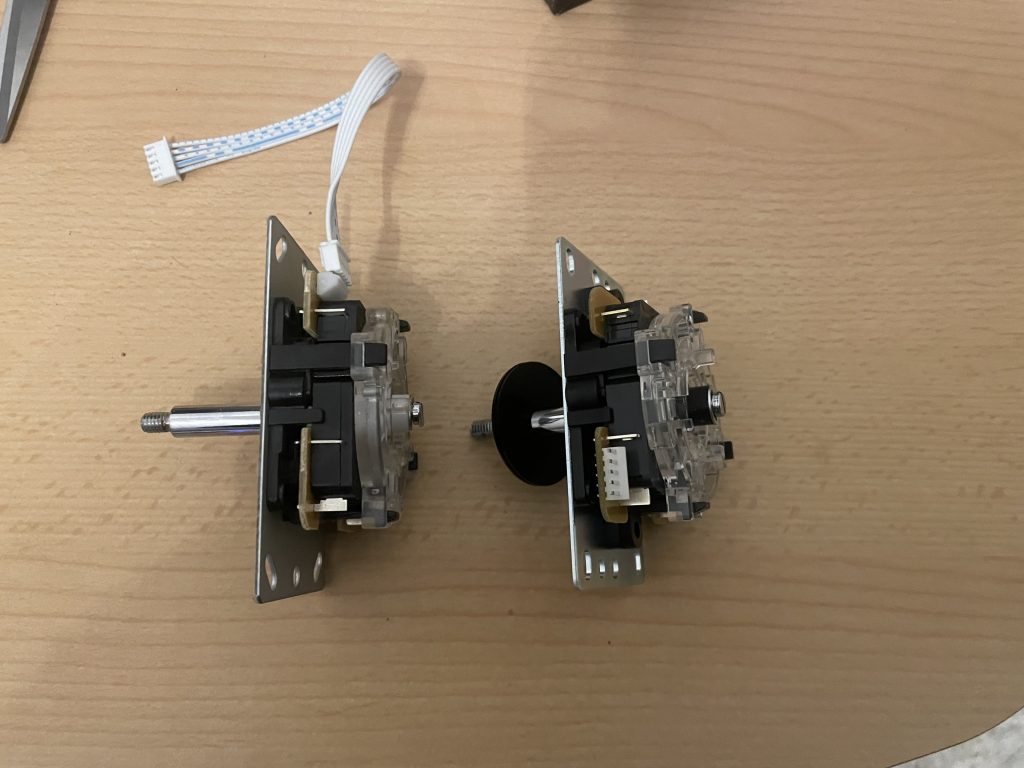
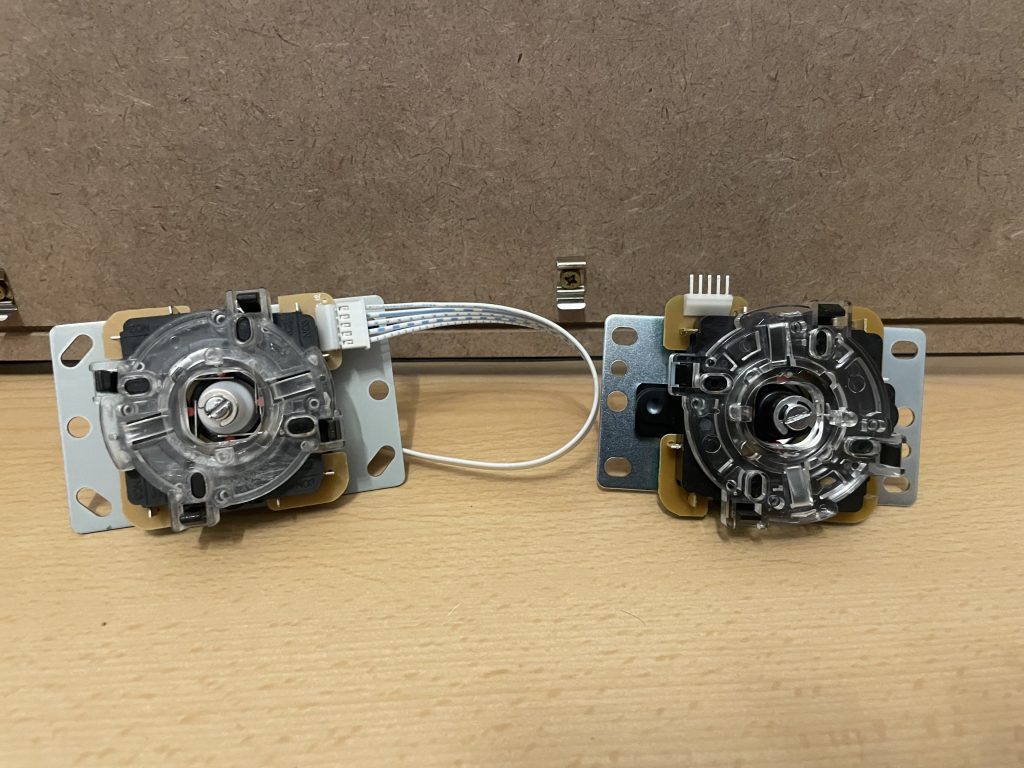
These sticks are equipped with Omron microswitches, which have achieved an almost cult-like status and were even used in the legendary Competition Pro. In a direct comparison, the difference in material thickness, quality, and workmanship becomes immediately obvious. The spring and guidance of the Sanwa sticks are noticeably firmer and more precise, which greatly improves input accuracy — especially for diagonal movements in 8-way mode!
For comparison: left = clone / right = original