Control Panel (v2)
After some time, I noticed a “problem” with the 8-way setting of the joysticks:

Older arcade games like Donkey Kong, Pac-Man, Dig Dug, or Q*bert — where the character can only move in two or four directions — are often difficult to control with an 8-way joystick. The movement can stutter or get stuck. Since these games were not technically designed to process simultaneous inputs like “left + up,” they react sensitively to additional directional impulses.
Although the restrictor plate at the bottom of the joystick allows switching between 8-way and 4-way modes, I have to open the control panel every time to do so. I could leave the panel latch unlocked, but during intense matches — or when kids are playing — it would literally pop open and fall apart.
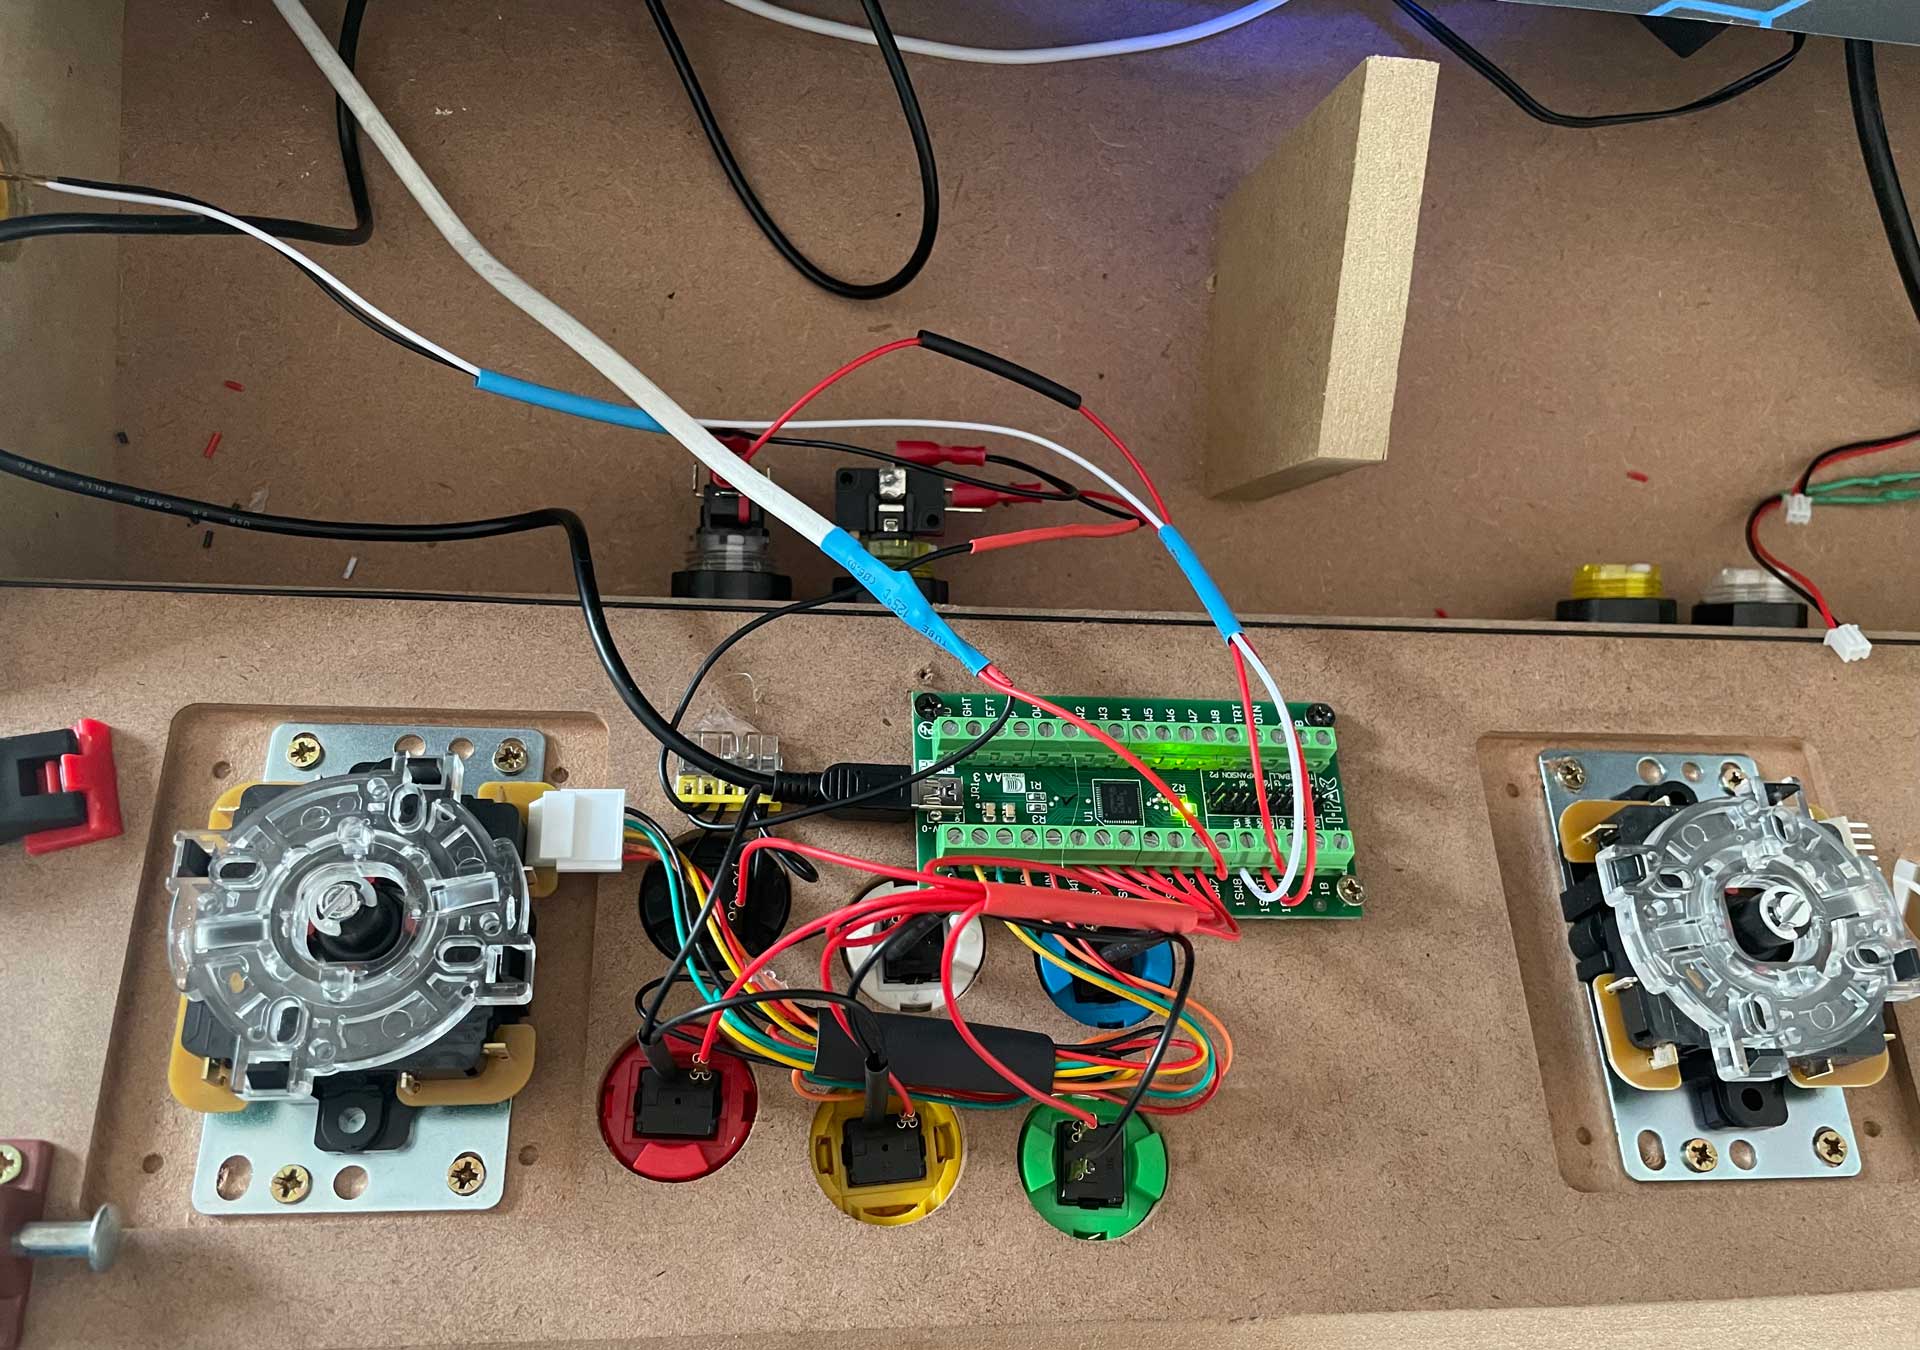
A possible solution is an additional circuit board that filters out unnecessary inputs. The problem: common Zero Delay boards are not compatible with this add-on due to their technical design — at least not without significant effort. Therefore, I will rebuild the control panel using the following components:
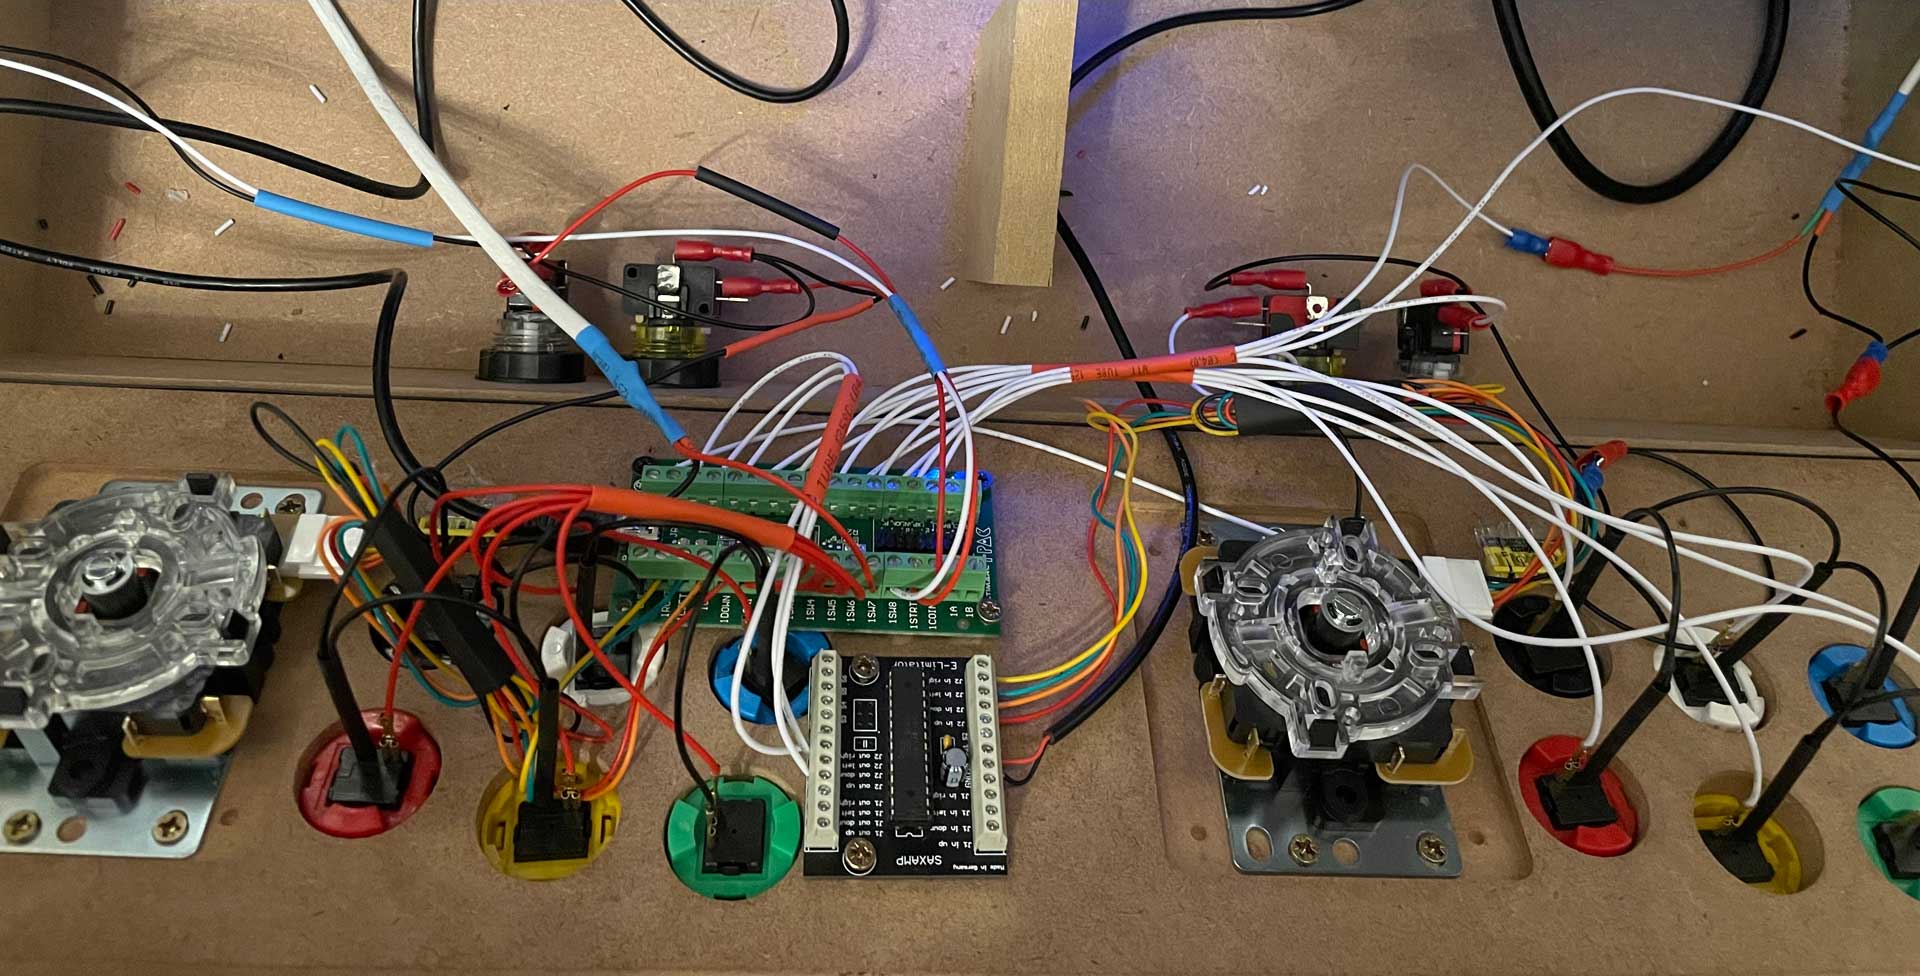
E-Limitator
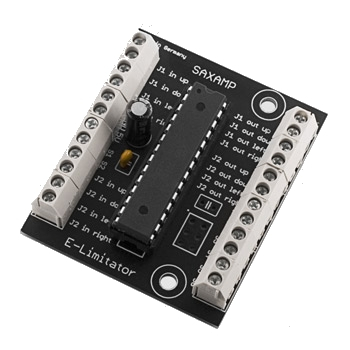
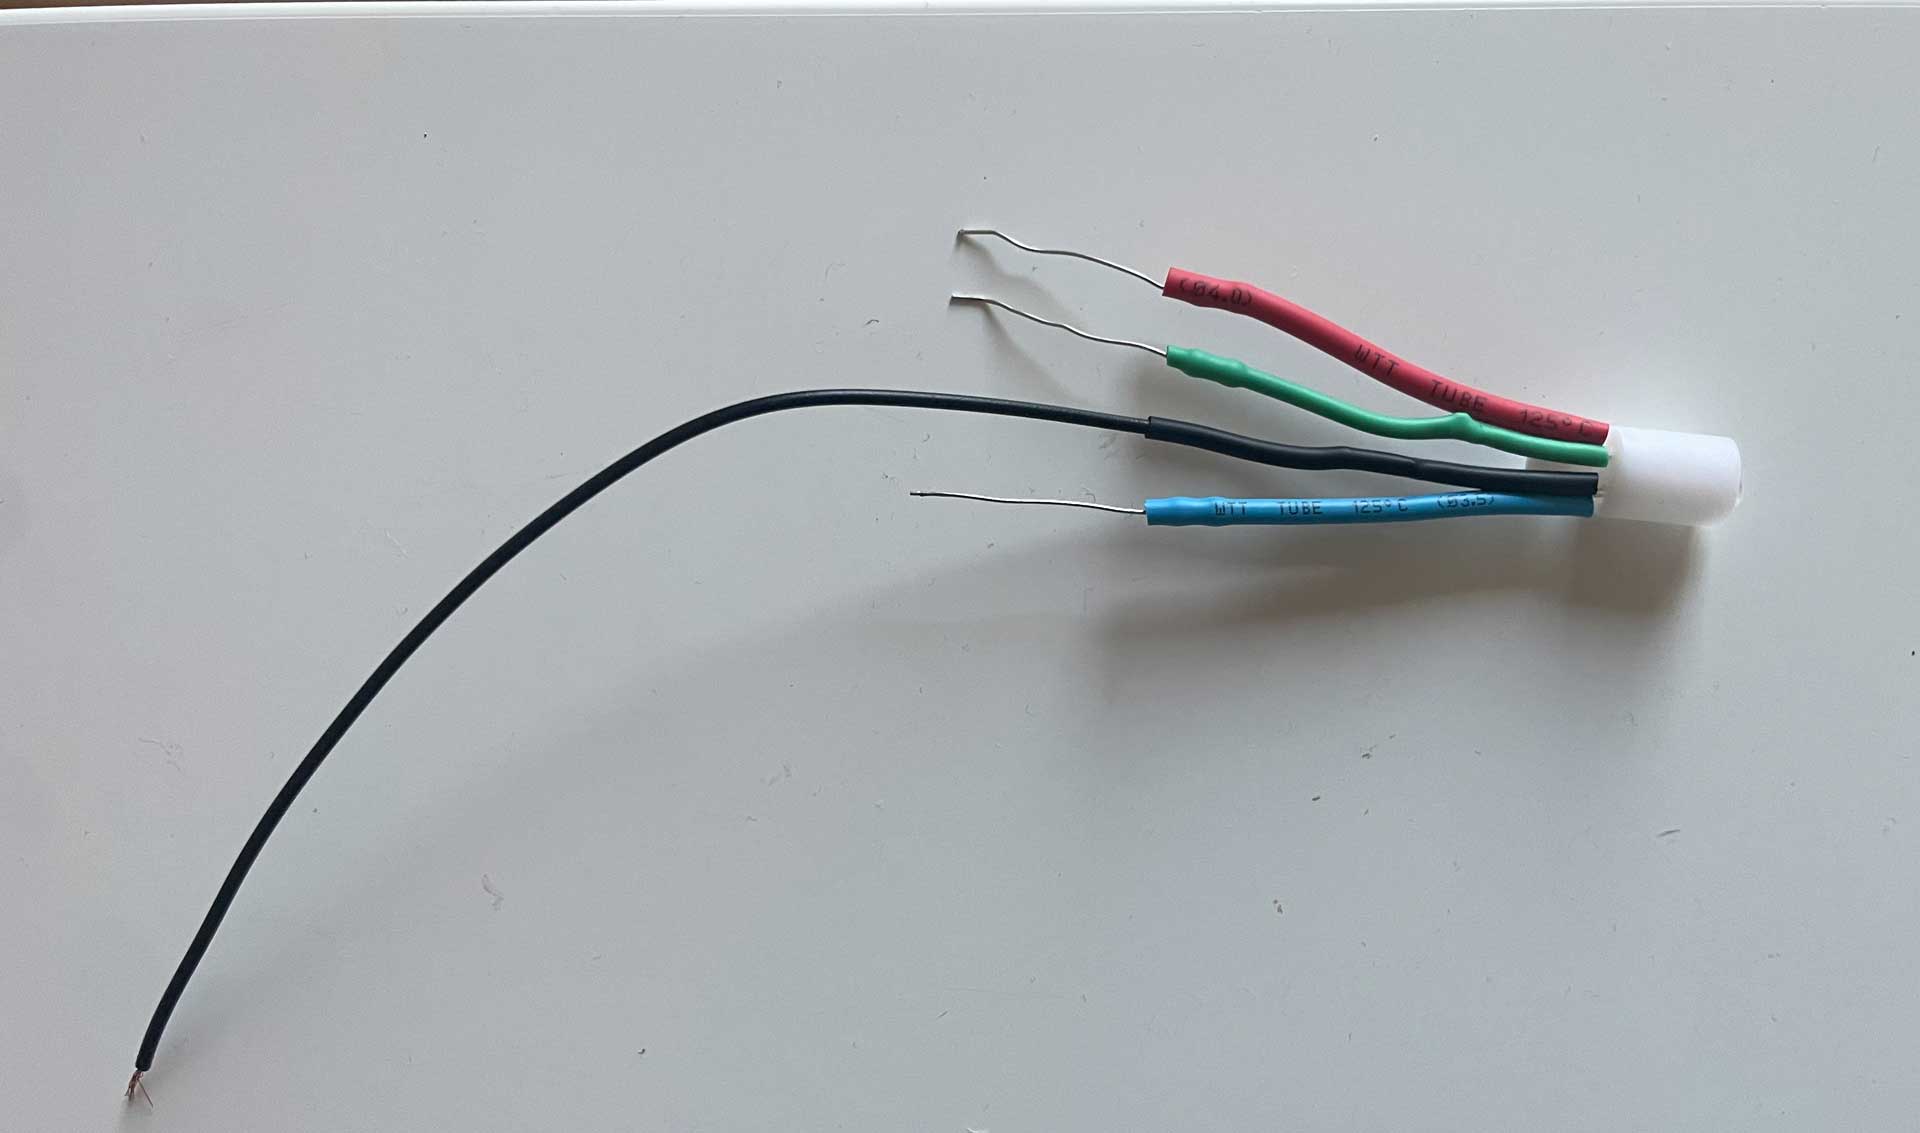
The E-Limitator direction controller analyzes the movement the player intends and filters out unnecessary input signals. This significantly improves the gameplay experience of 2- and 4-way games when using an 8-way joystick. One E-Limitator can be used for up to two joysticks. The selected mode is indicated via an RGB LED:
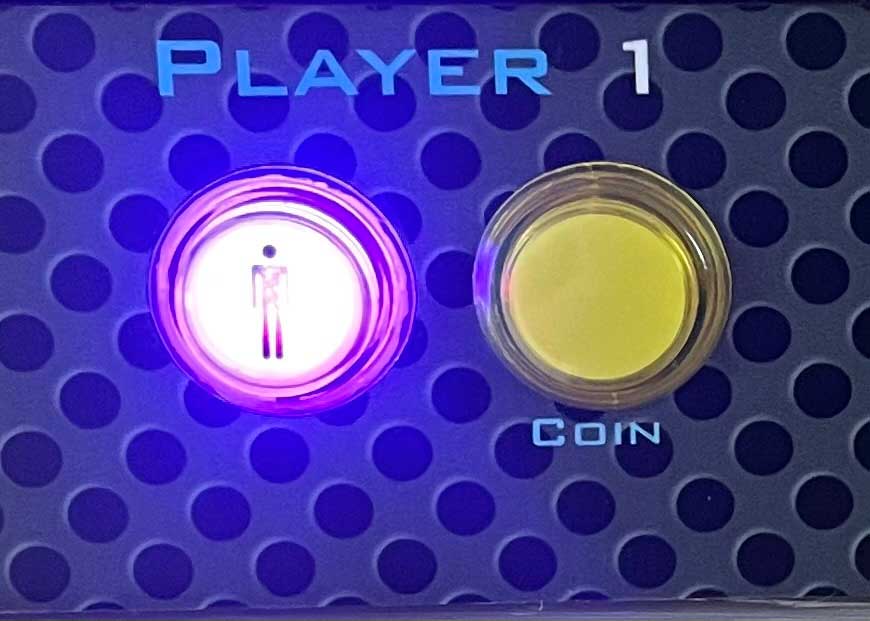
Purple – 8-Way
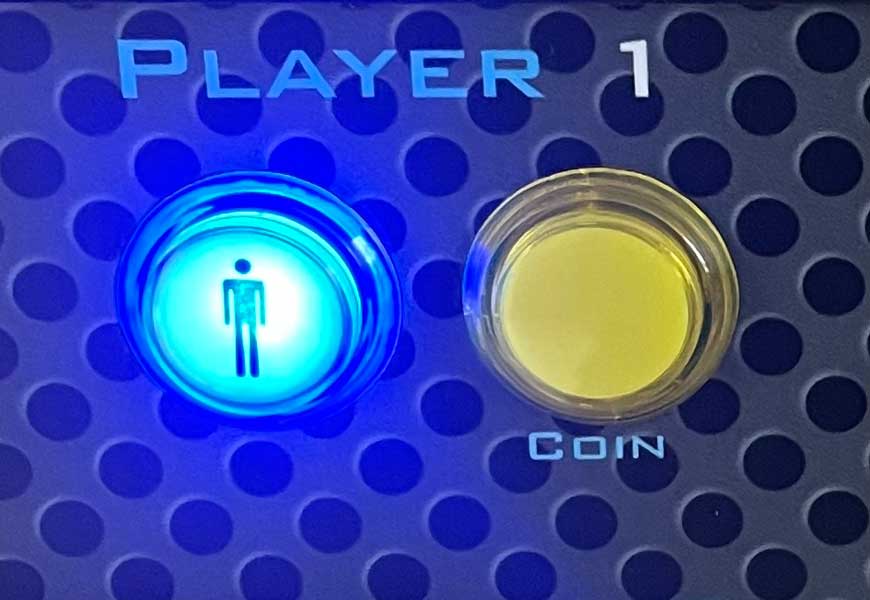
Blue – 4-Way
Turquoise – 2-Way Vertical
Green – 2-Way horizontal
Ultimarc I-Pac2
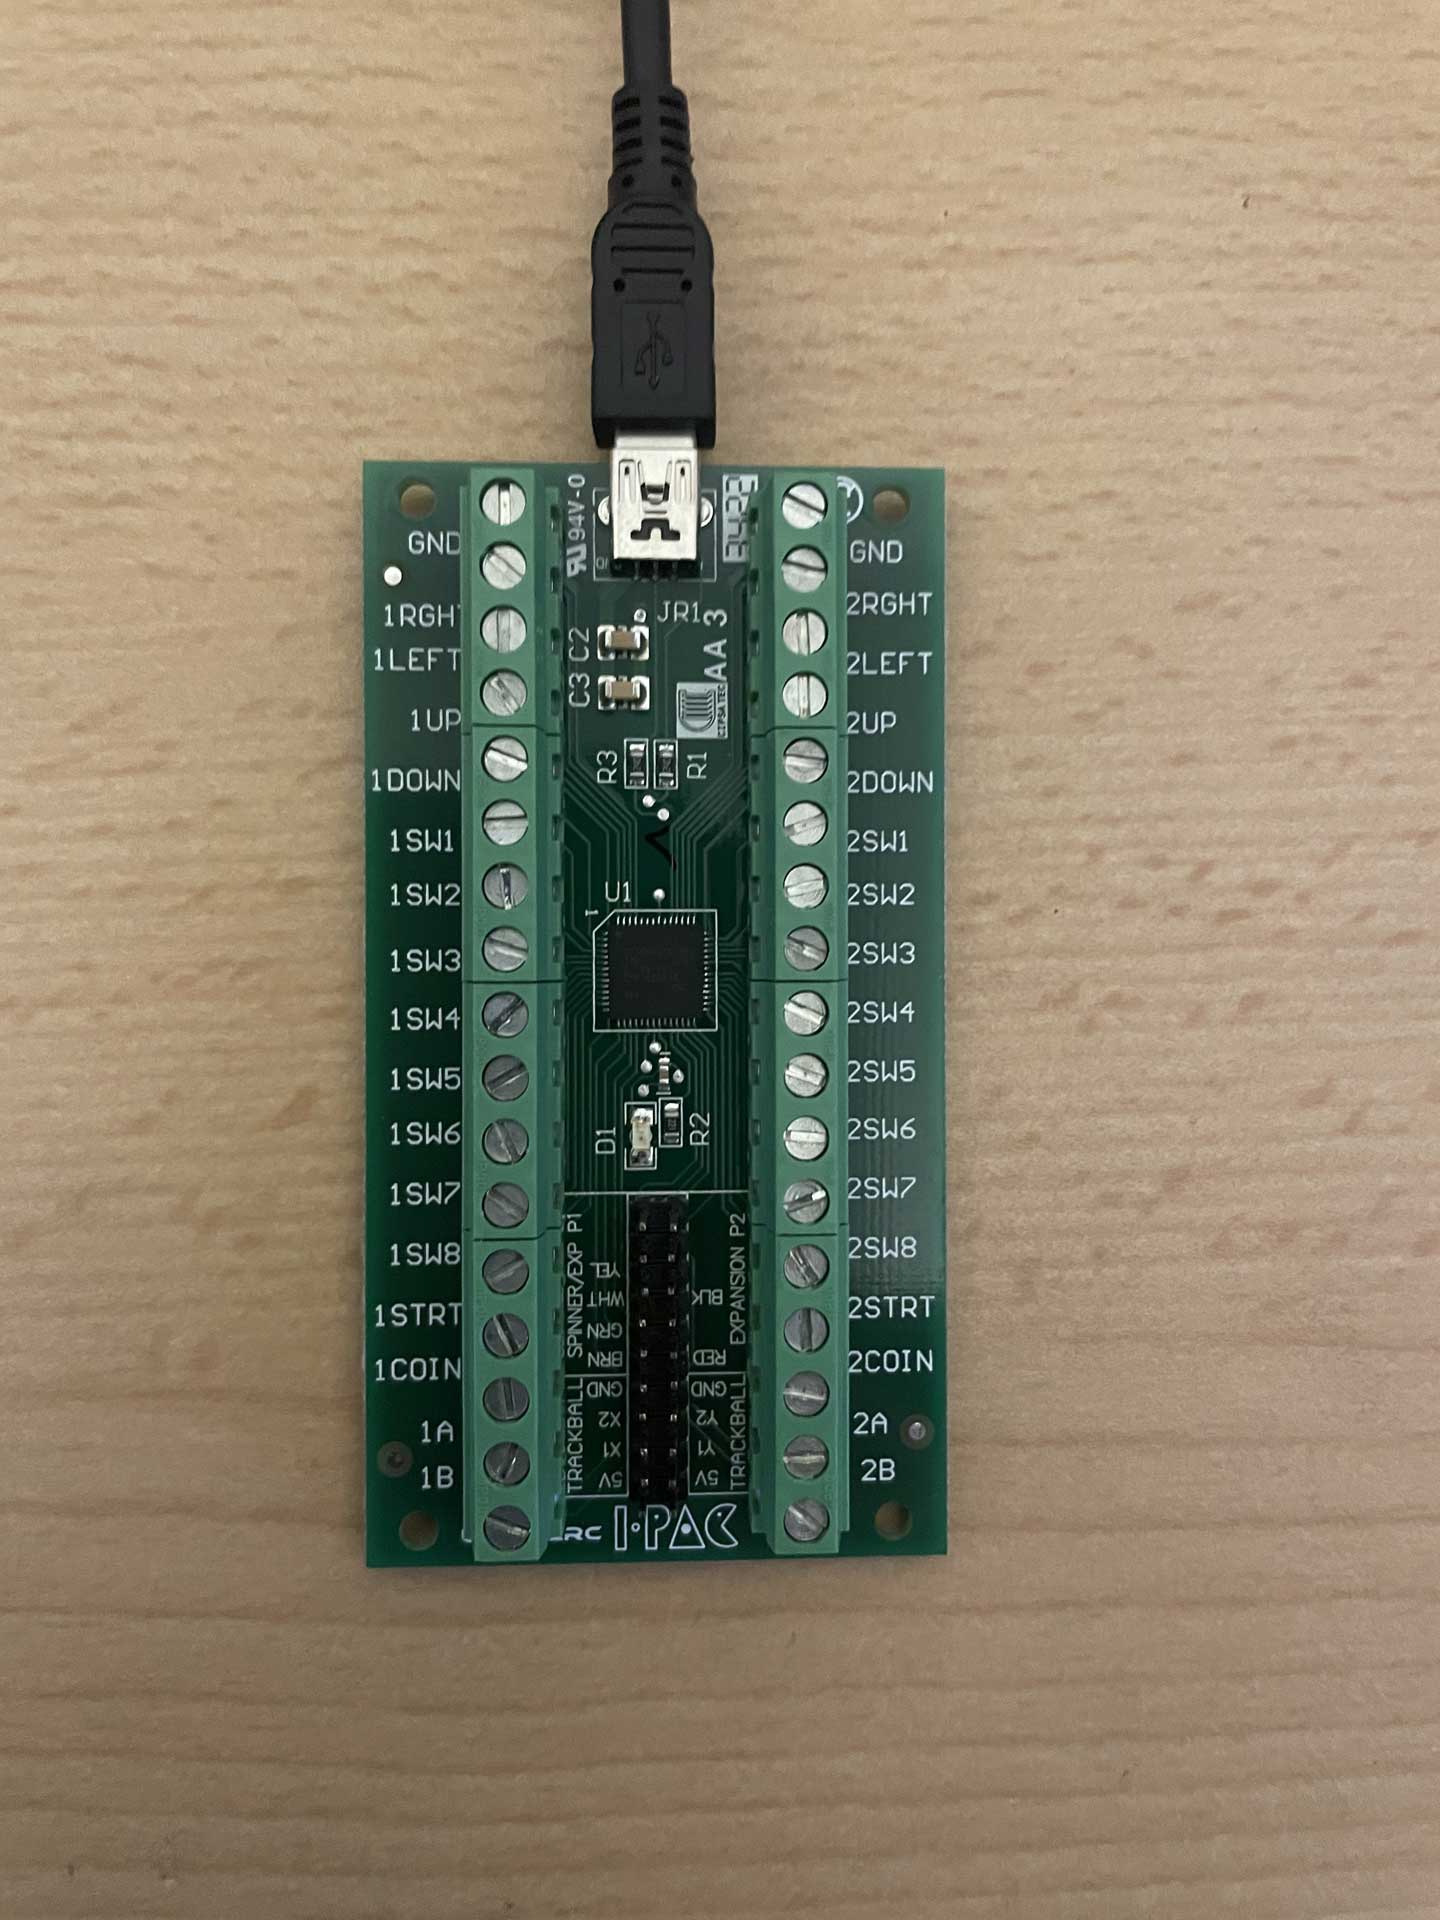
The Ultimarc I-PAC offers 32 inputs and dedicated connection options for trackballs and spinners. The board can be operated as a keyboard device, a DirectInput device, or an XInput device, depending on the configuration. Every input can be freely assigned via software, but in XInput mode, the limitations of the protocol apply.
Both boards are equipped with screw terminals instead of HX/HL connectors, which means the joysticks and buttons also need to be rewired. I fitted the new cables with flat plug terminals and quick connectors, using a crimping tool for installation.
Front Panel (Mode Select & LED Mod)
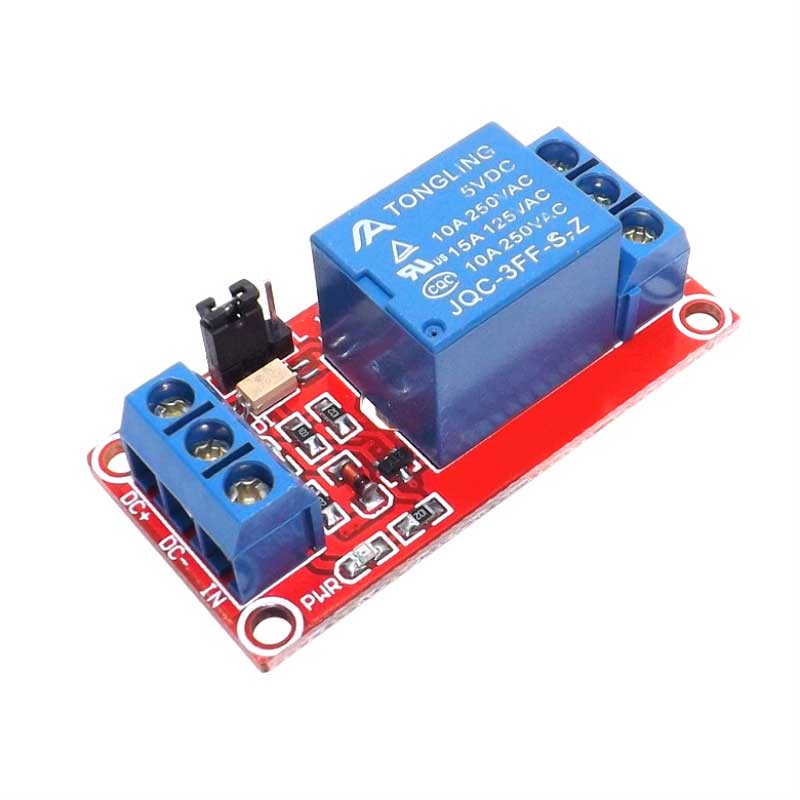
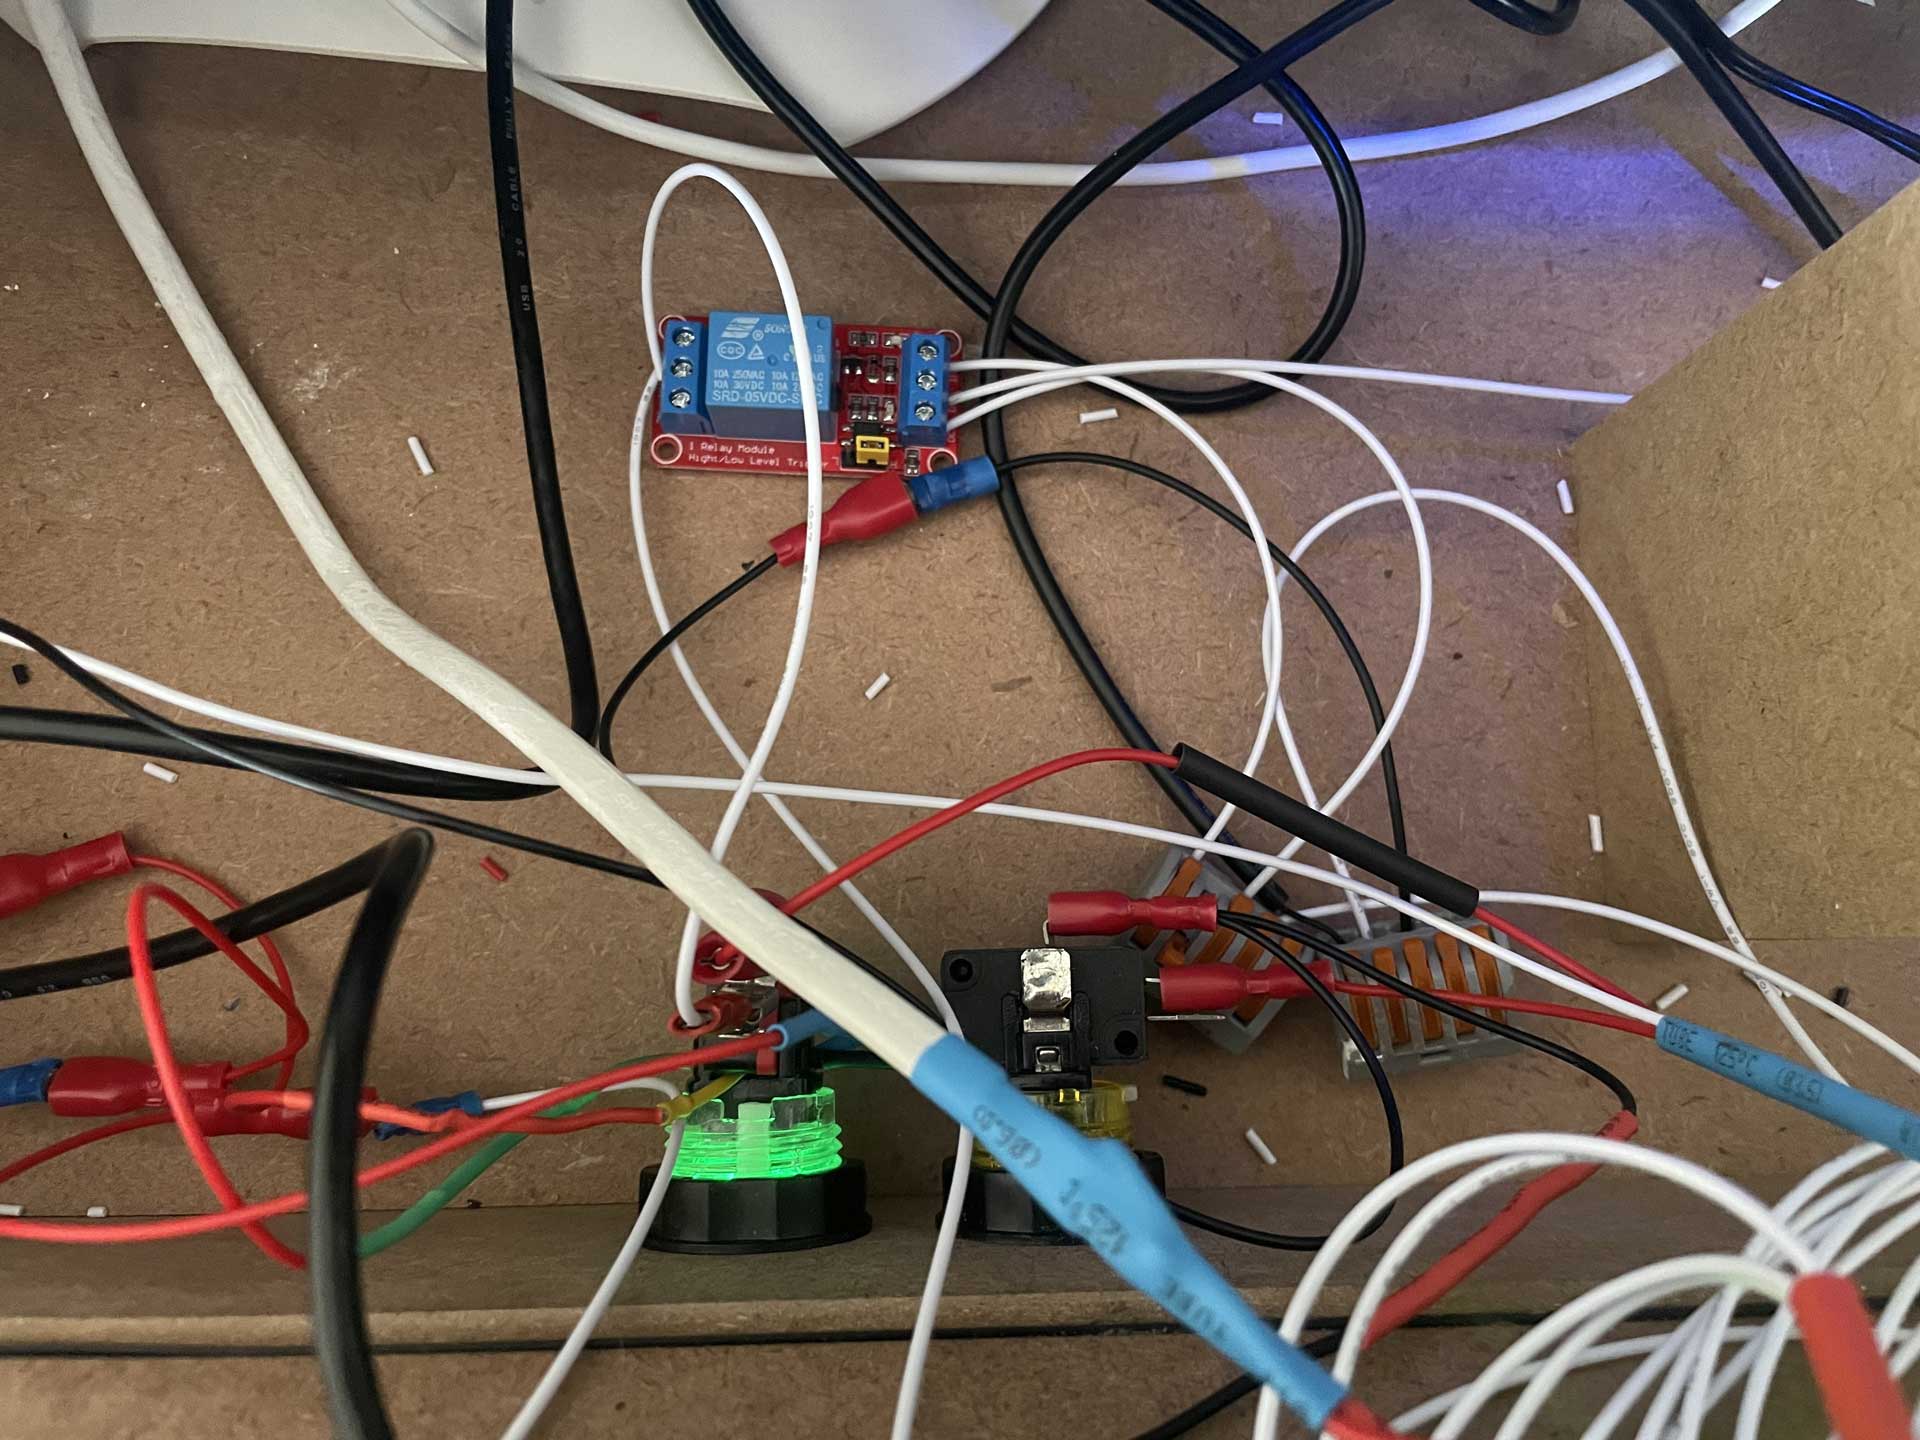
The E-Limitator installed in the control panel allows the joystick’s control mode to be adjusted “on the fly” via a switch. To prevent accidental switching, I integrated a key combination. Using a 1-channel relay (5V), the mode change is controlled: the relay is connected to one of the side buttons and the P1 start button. By holding down the side button, the relay is activated, and pressing P1-Start switches to the new mode.
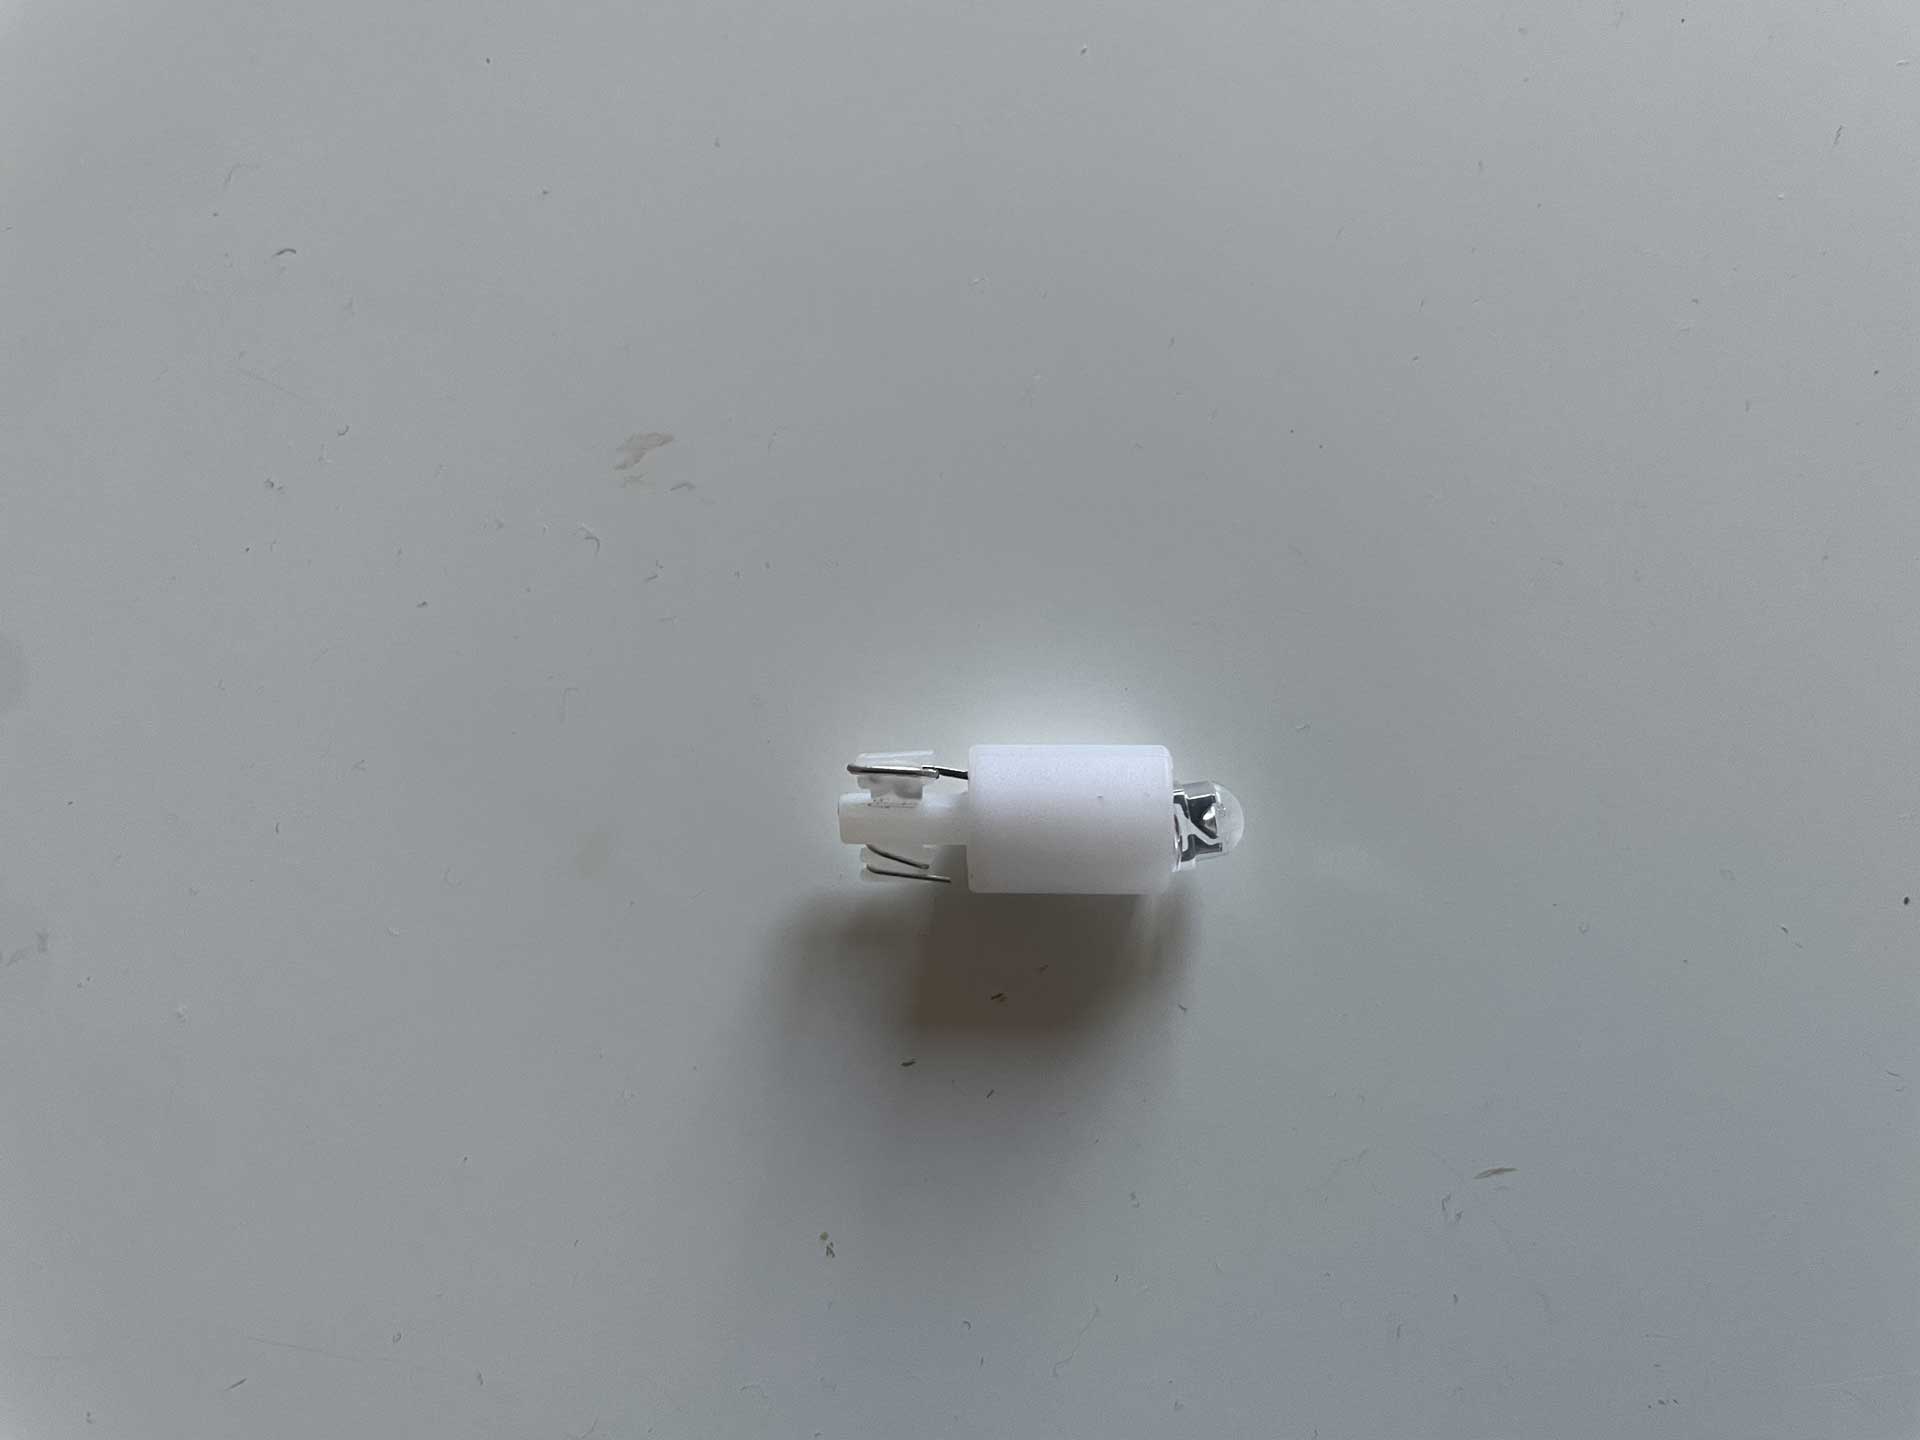
An RGB LED indicates the current control mode. For this, I modified the P1 start button and removed the standard LED. By lightly widening the LED holder with a Dremel, I was able to adapt it so that it can accommodate the RGB LED along with the additional soldered resistors.