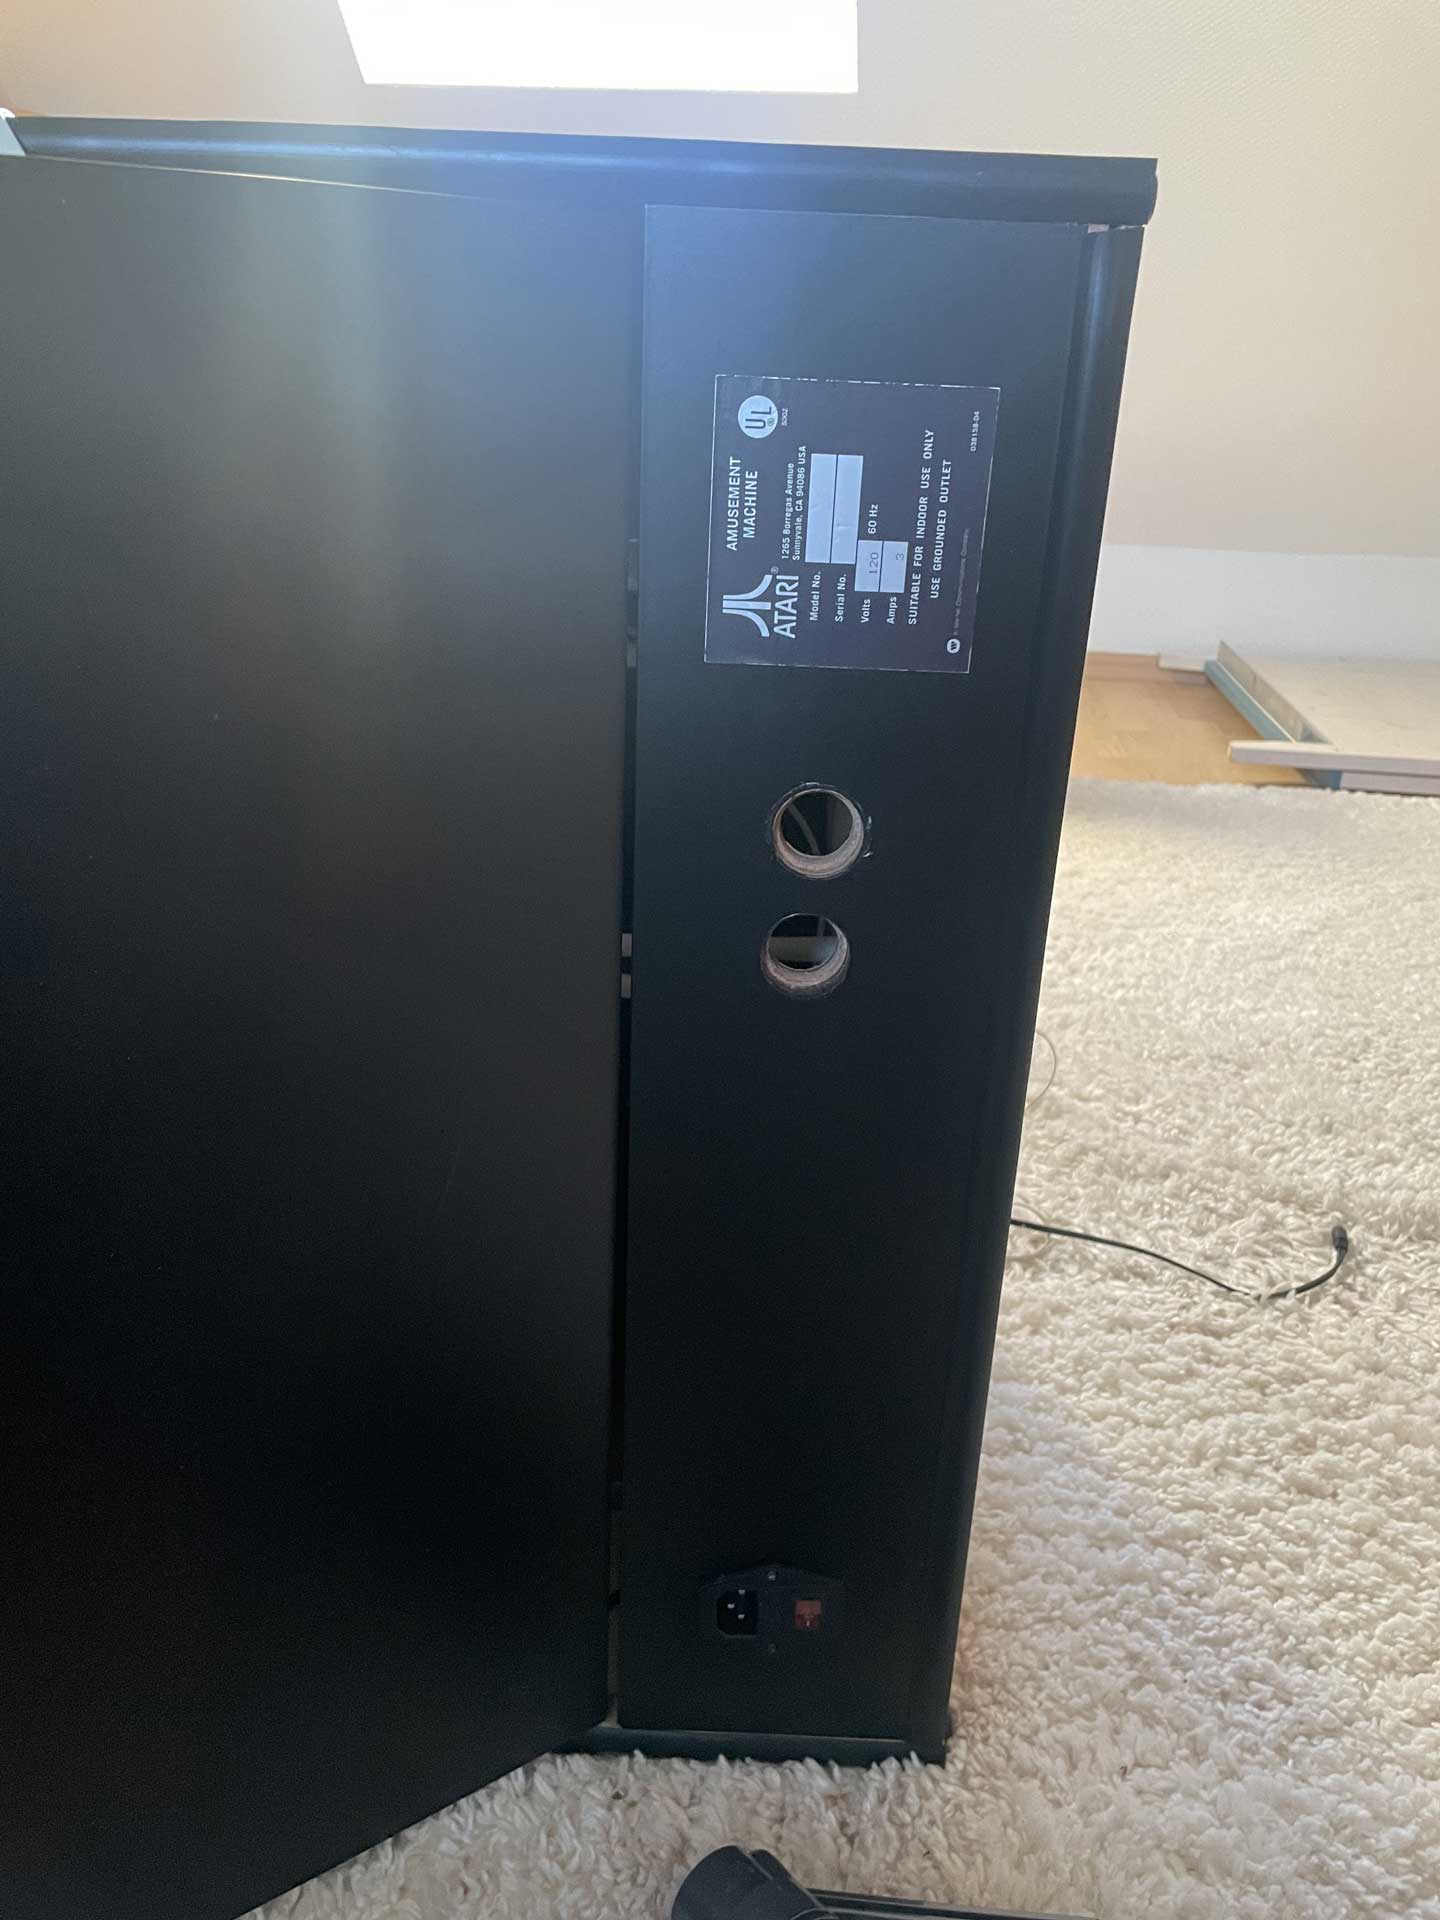
🔌 Back Panel
The original plan to install the PC directly inside the bartop cabinet had to be abandoned due to the limited space available. In the long run, the bartop will therefore be mounted on a “stand” unit. Since this step isn’t happening immediately, I still wanted to clean up the cable clutter and close the service hatch. To achieve this, I had to modify the back panel afterward.
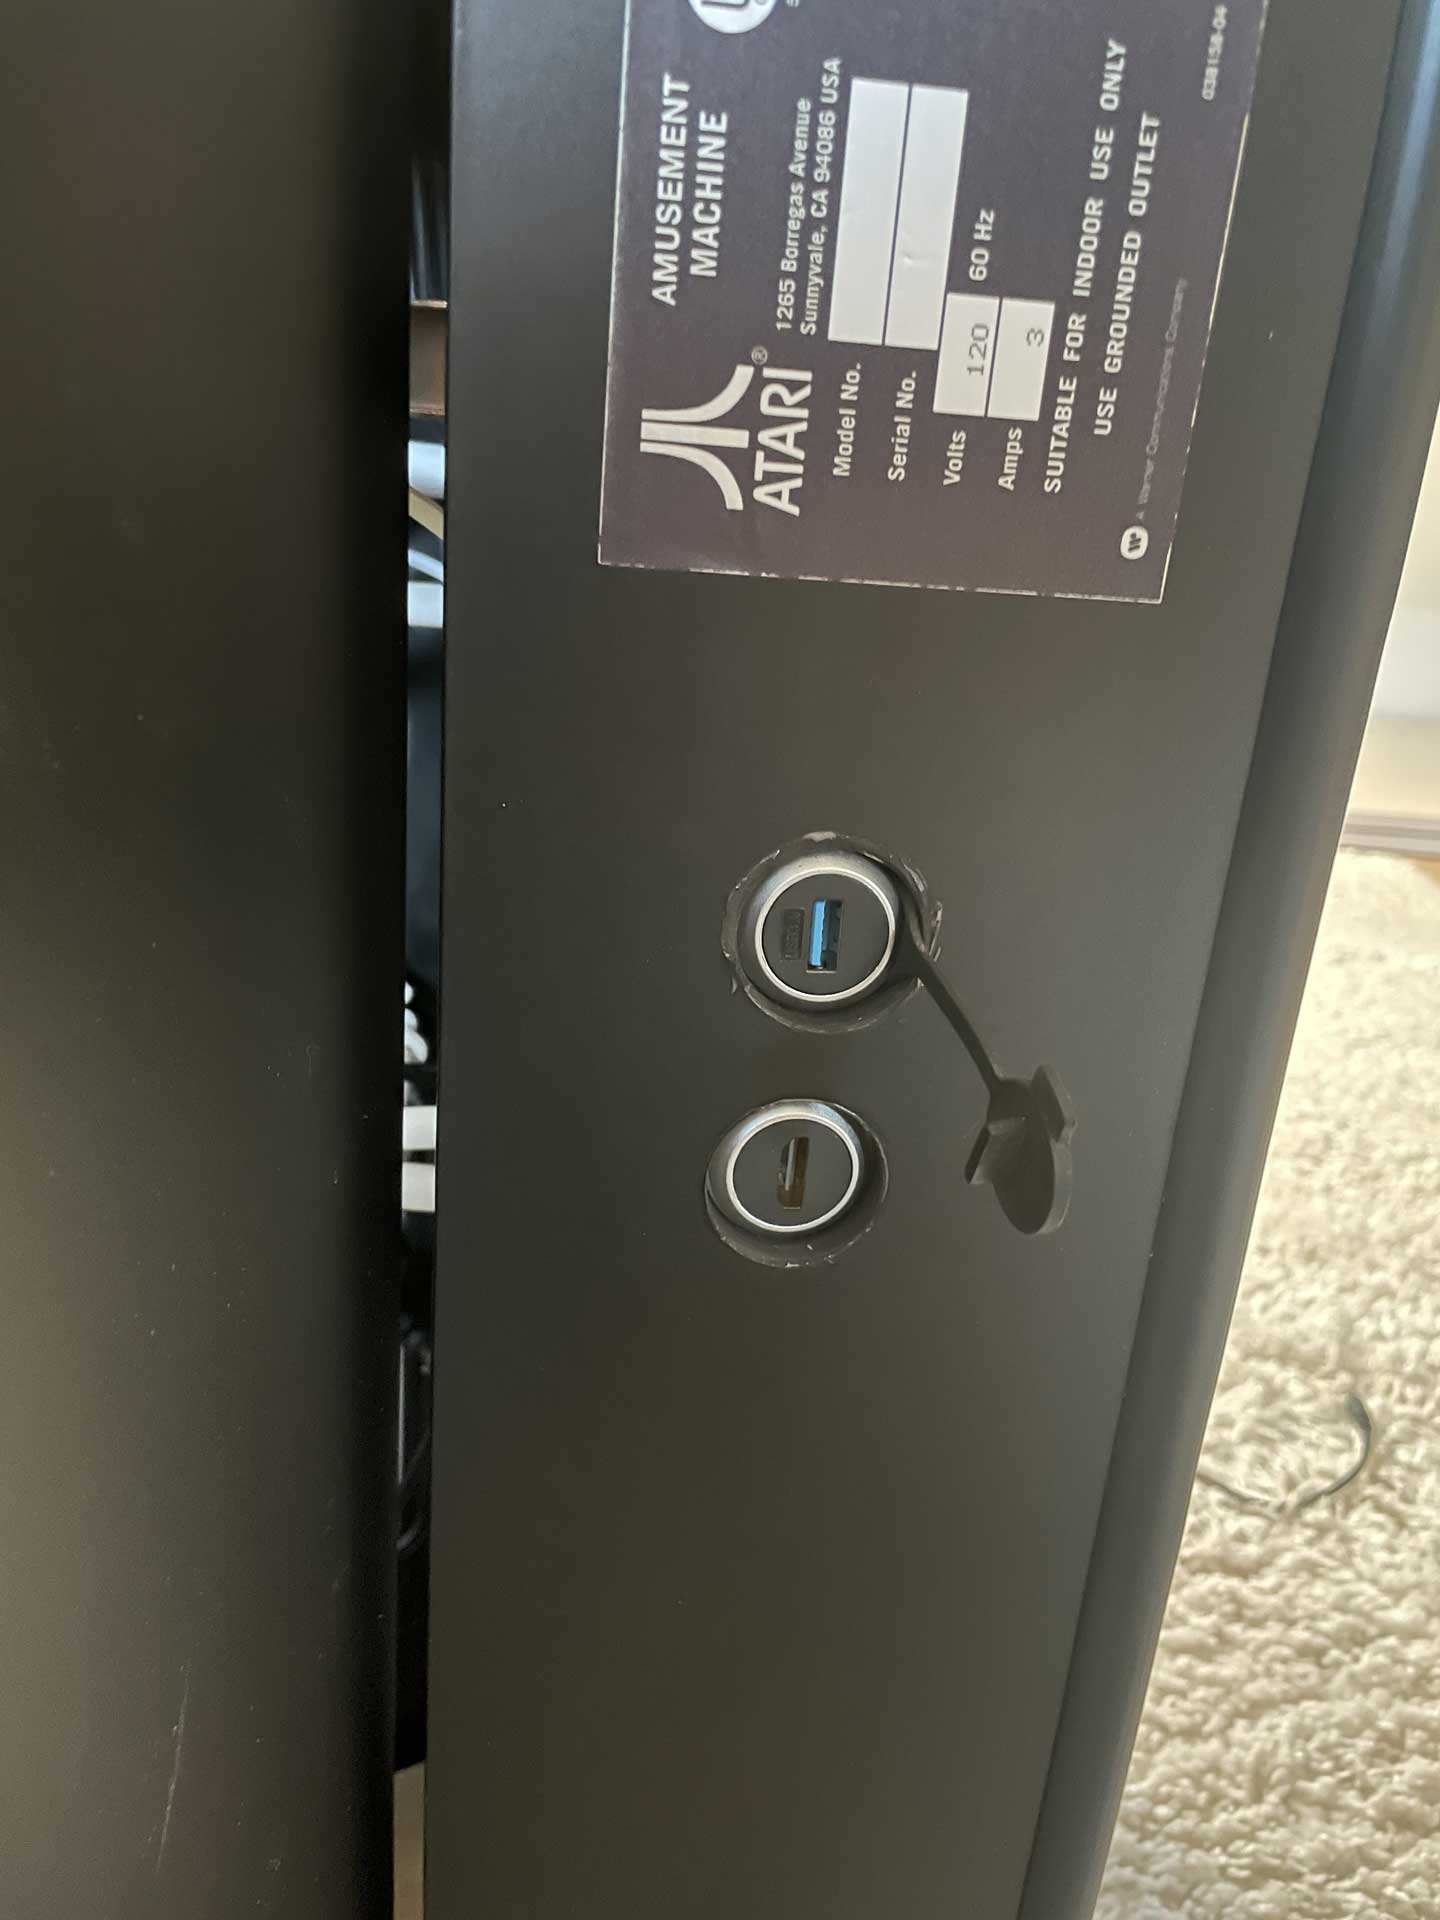
One drawback was that the panel had already been wrapped in vinyl, so the necessary cutouts had to be drilled through the applied film. The back panel now contains the following ports:
IEC power socket with switch
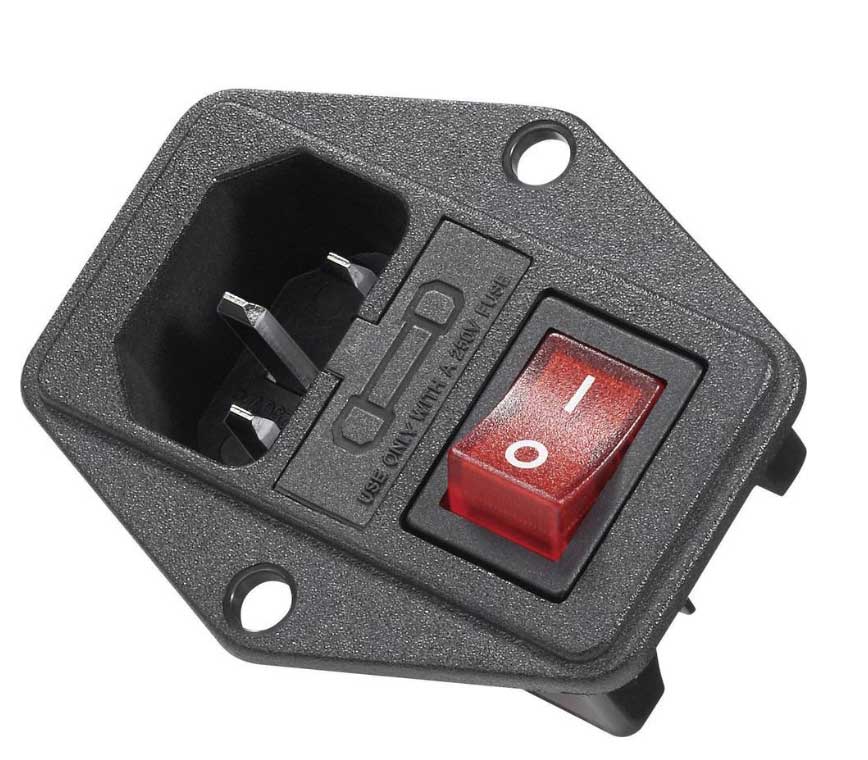
For the IEC connector, I used a panel-mount socket with a switch and fuse. It supplies a power strip inside the bartop, to which all other components — such as the monitor, marquee light, and audio interface — are connected. This way, the bartop cabinet requires only a single power cable.
USB 3.0 socket
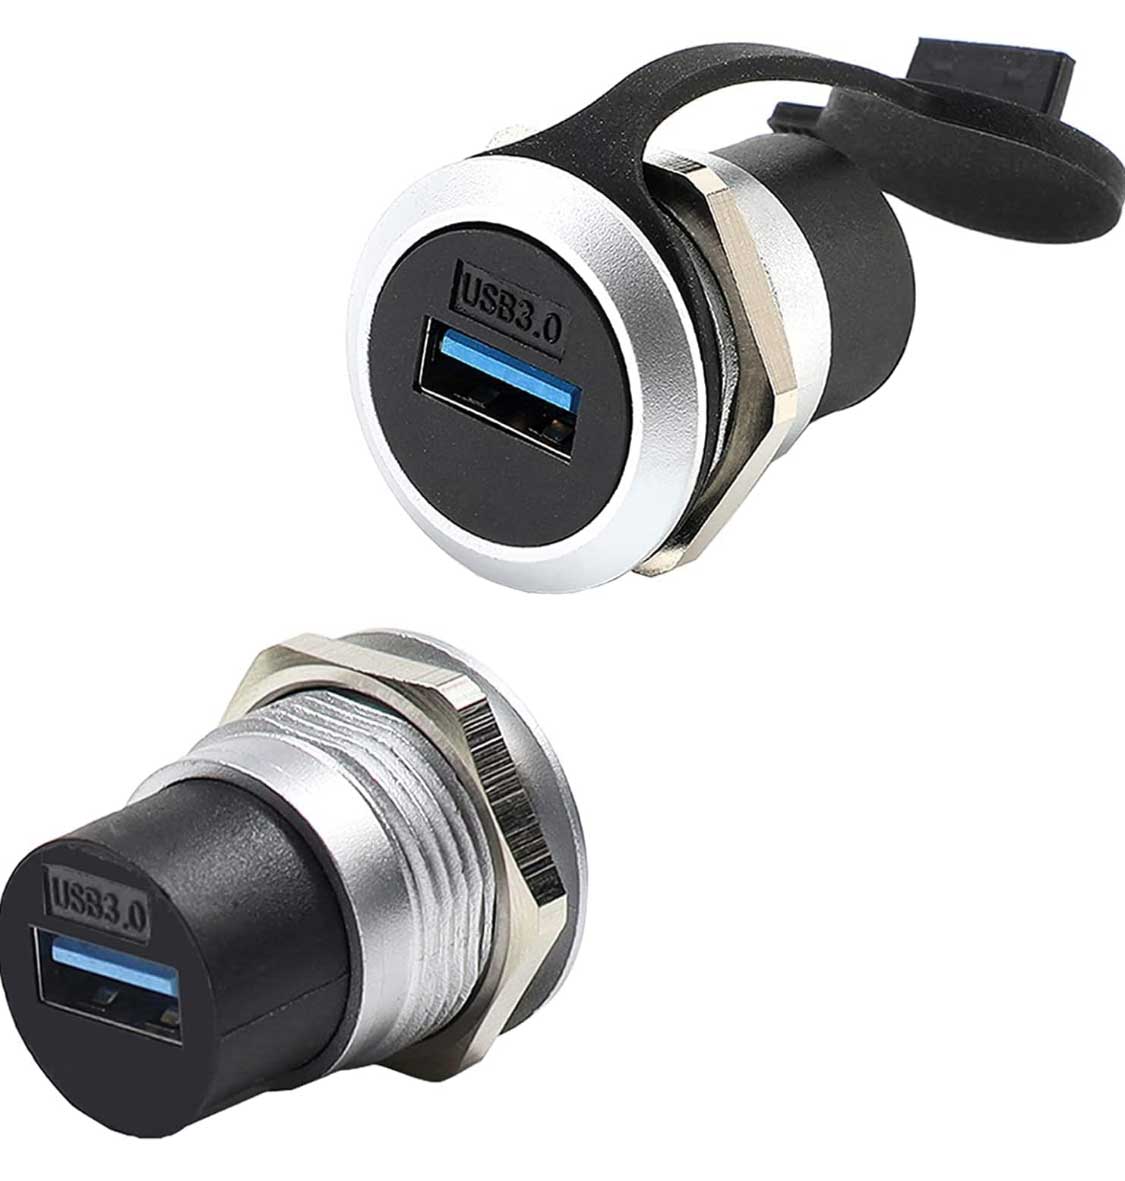
o connect the USB devices, I installed a USB 3.0 passthrough socket. Internally, it is connected to a 4-port USB 3.0 hub, which keeps the control panel’s cables neatly organized and provides additional space for more peripherals. Externally, a USB-A (male/male) cable can be used to connect it to the PC.
HDMI socket
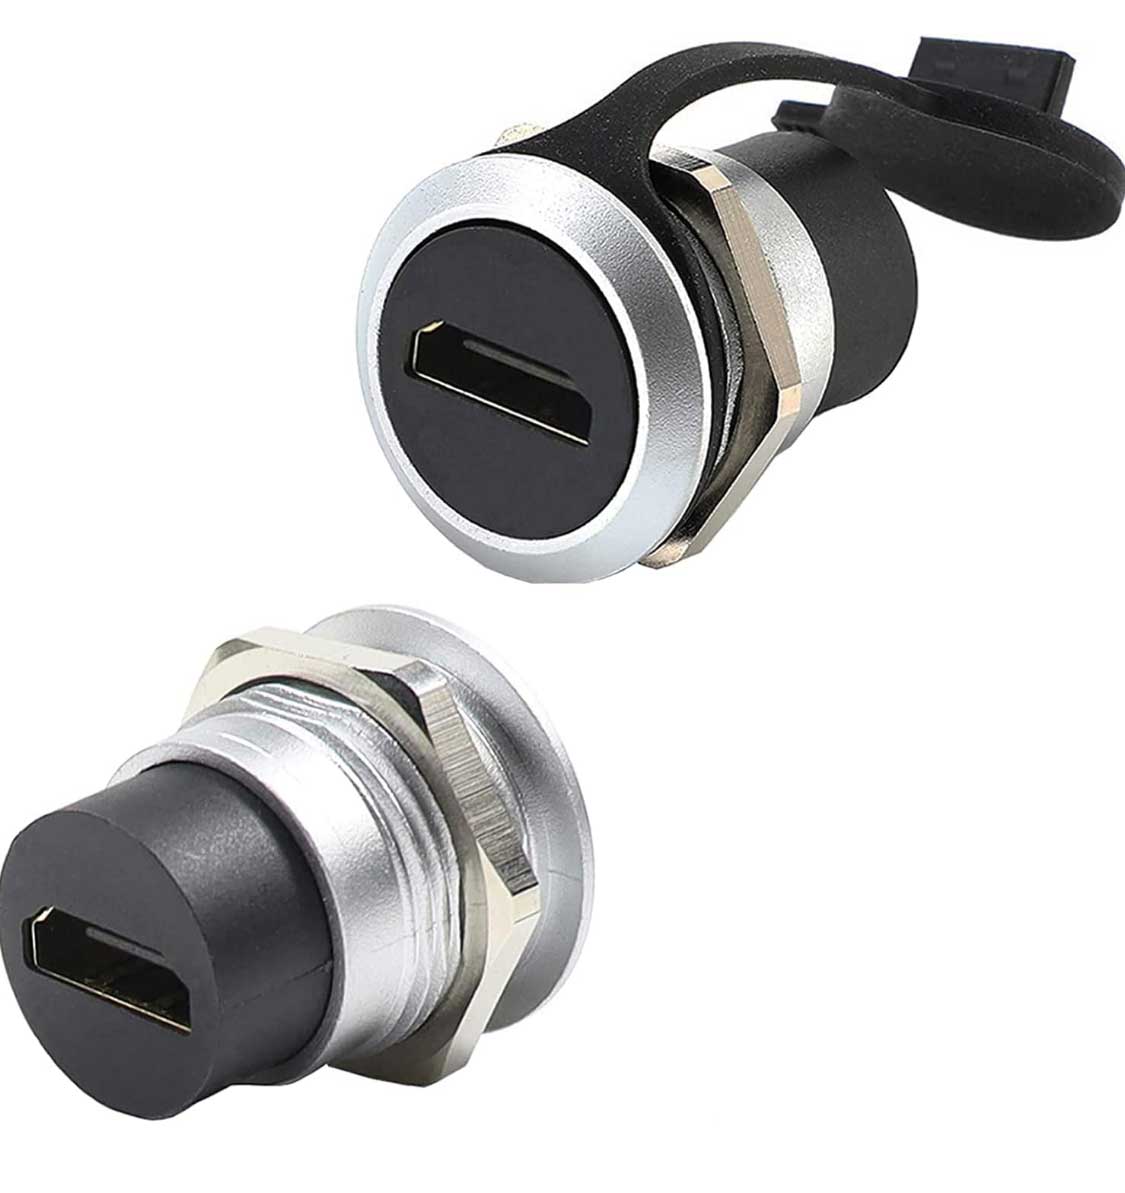
A passthrough socket was also installed for the HDMI port. Since the monitor only has a DVI input, an internal HDMI-to-DVI adapter cable is used.
The cutout for the IEC power socket was already present in the panel, so no adjustments were needed there. The two additional ports were made using a Forstner drill bit. During the process, I realized that I hadn’t taken the depth of the sockets into account: on the first attempt, the thread of the socket wasn’t long enough to secure it properly. To recess the socket, I had to create a countersink using a larger drill bit. Since there was barely any support for the drill, I had to work at a low speed, which slightly damaged the vinyl and resulted in an uneven finish. I temporarily concealed the imperfections with a black marker.